12 Lesser-known Tips & Tricks For Desklog User
As a Desklog user, you would know that it is equipped with so many exclusive features for normal users and as well as for admin users. Some may know the in and out of these features. However, some would be in the beginner phase and may be looking for tips and tricks to leverage the features of Desklog.
Here, let us discuss some important tips and tricks for Desklog users.
While reading some tips you may find that you already know such basic information about this tool. However, it would help if you are yet to start with Desklog.
General Tips & Tricks For Normal User:
1. What is the difference between Logout & Quit?
When you start Desklog, you would see a small icon on the taskbar where you will find the two options log out and quit when you right-click on that icon.
You may click on the My Desklog option to log in to the tool. There are two options to turn off Desklog. Let us understand the difference between the two options.
Logout option: This option will allow you to log out of the application, where you again need to enter username and password to start the client application.
Quit option: By clicking on this option, you can quit from the Desklog. However, it remembers your credentials and you just need to click on the login button and this option saves your time.
Now you may wonder why the logout option is there if the quit option is the time-saver? If more than one user is using the same desktop, then the Logout option would be more useful when compared to the quit option.
Where To Find
Windows Users: Go to the right bottom corner of the taskbar and right-click on the icon to view the two options.
Linux Users: Go to the right top corner and right-click on the icon to view the two options.
Know more about Employee Time Tracking in Desklog
2. You have the option to avail break time from working hours
When you want to take a break from your work or if you need to attend any call which is not related to work, you can avail break time by clicking on the “Go-offline” option. The same option can be found by right-clicking the Desklog icon.
So make use of this option to avail your break time and work more comfortably.
3. Tracking starts only if you “Go Online”
Do you know the fact that only if you are available online, the tracking will start? It means, if you have gone offline for any break then you need to make use of the “Go-Online” option to start your automated time tracking. This option is also found by right-clicking the Desklog icon.
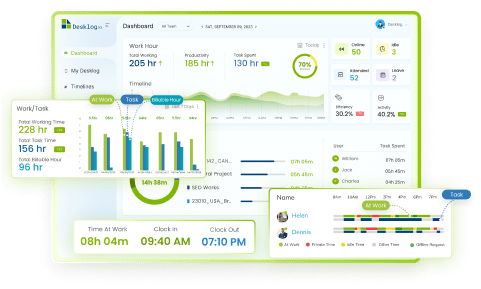
4. Check your arrived time and view the tracked time at work, productive time, and idle time
Always keep track of the arrived time, time at work, productive time, and know your own work status to keep track of the work and working hours.
Now, what is the difference between the time at work and productive time?
Time at work: The time spent at work during your working hours.
Productive time: The time spent on certain pre-configured productive apps. The productive apps differ depending upon the working team. For example, The development tools will be the productive apps for the development team and the design tools will be the productive apps for the design team.
Know your productive apps and work accordingly to enhance your overall productivity.
Idle time: Now if you are not working and sitting idle at the front of your system without going offline, it tracks the idle time.
Where To Find
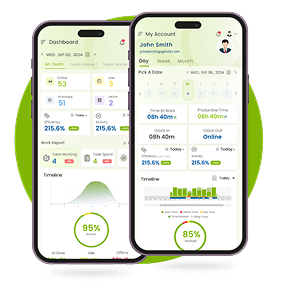
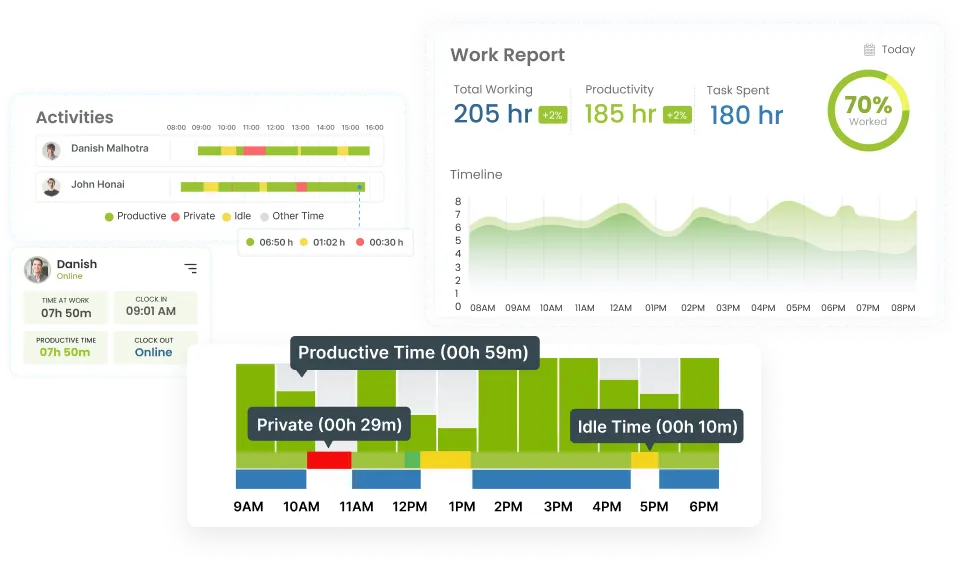
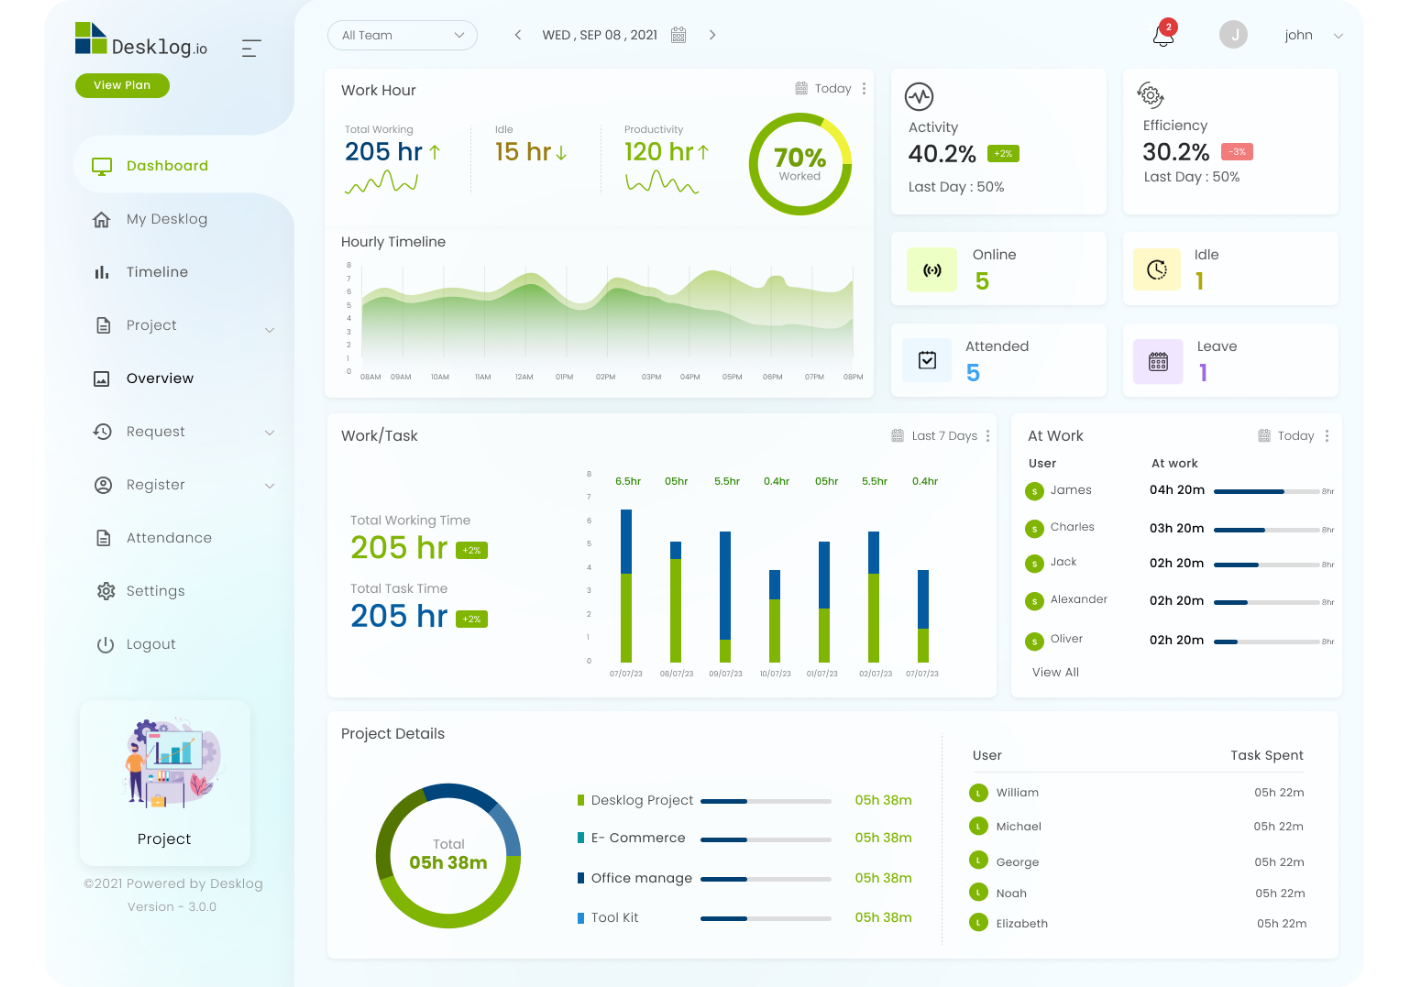
Know your arrival time, status, time at work, and productive time from the user dashboard.
The idle time you can find from the work graph displayed on the dashboard.
5. Evaluate your own daily/weekly/monthly productivity reports to enhance your performance
To self assess your performance, it is always better to track daily/weekly/monthly productivity reports from the different graphs like
6. View all accessed lists of categorized (Productive, Neutral, Non-Productive) apps and work effectively
Once you get to know your productive apps, you would try to spend most of your time on it. However, for some reference, you may look into other neutral apps or non-productive apps. To keep yourself track of the total time spent on each app and also the percentage time spent, you can check the accessed lists of categorized apps.
Know more on URL and App tracking feature
Go to the bottom of the user dashboard, here you can find the three different categories and a list of apps accessed by the user under these categories.
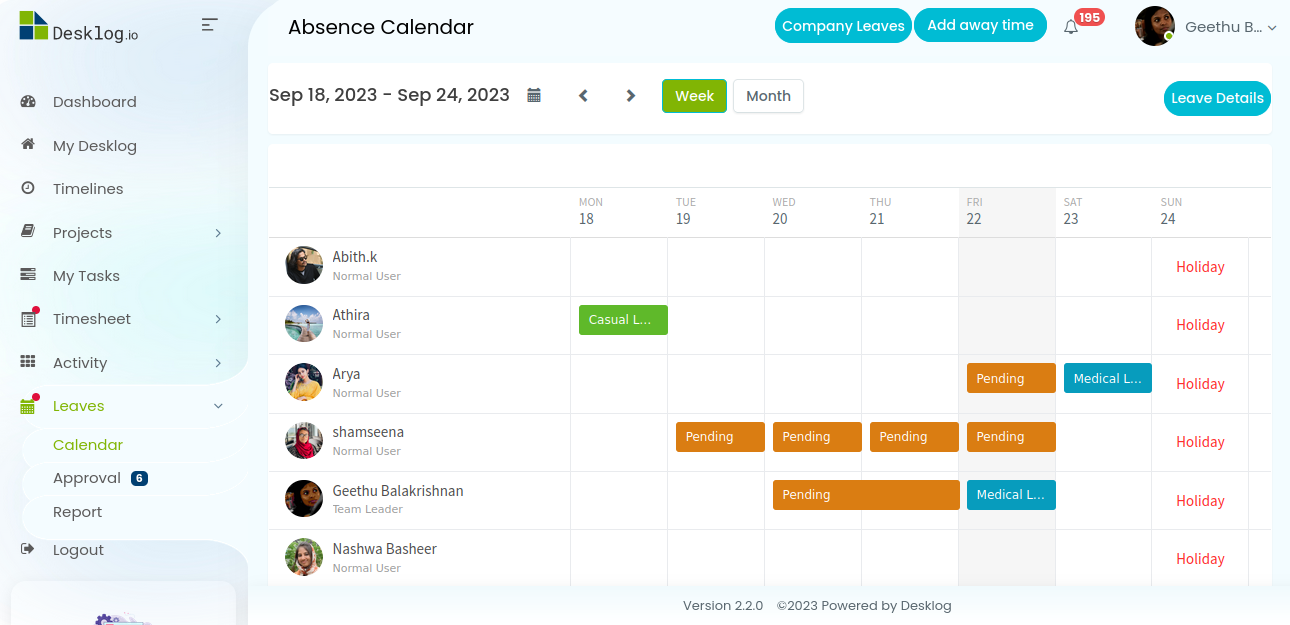
7. Make use of the Absence Calendar to add your away time
If you are on leave, you can inform it beforehand to the concerned authority by making use of the Absence Calendar and adding the away time or applying the leave to get it approved.
This helps the management to keep track of your monthly attendance.
Read in detail advanced attendance management system
Where To Find
Go to Absence Calendar and it opens up a monthly calendar view. Click on Add away time option on the top right corner or click on the “+” sign on any day of the month to add the away time.
8. Manage your task with a task timer and plan the assigned tasks.
Users can effectively manage the assigned tasks by making use of the task timer for it. This makes you plan the other pending tasks well in advance. When you change the task status to “in-progress” now the task timer will run and you can view task progress with the percentage of time completed. It also shows the estimated end time to finish your work. You can also stop the timer by changing the status to “Pause”
9. You can know if Desklog is tracking you based on the color of the icon.
The app icon of Desklog can change color according to different situations. If the icon is green and blue, it means that Desklog is online, you are logged in and being tracked. If the icon is red and grey, it means that there is no internet connection or you are logged out of Desklog and not being tracked. You will have to log in again to start tracking. Then the color of the icon will change to green and blue. The icons have similar functionality for Windows, Linux, and Mac.
10. The difference between Time at Work and Productive Time
On the Desklog user dashboard, you can see sections called Time at Work and Productive Time. These are actually different measures. People may spend long hours at work. But out of those, how many were really productive? Time at work shows the time the employee has been in front of their computer. Productive Time shows the time the employee has actually been productive and working on something. The parameters for productive time include keyboard activity, mouse or trackpad movement, etc…
11. Document Title Tracking
The document title tracking feature can be used on design tools, word processors, email, and collaboration software. When a new document is created and named, the time associated with that document is tracked automatically. Using this feature, the time spent on the document can easily be monitored.
12. Apply for offline time with just one click
Not all your employees can work by sitting in front of their computers all day. As work done away from the computer cannot be tracked using Desklog, it offers offline time requesting with just one click. Employees can give the reason for offline time and label it as productive or unproductive. The requests can be accepted or declined by their superiors.
Explore the Task Management feature in Desklog
Where To Find:
Want to try our Time Tracking Software?
Try Desklog for free!
Conclusion
Hope these tips and tricks are easy to understand. As a normal user of Desklog, you can make use of these features available to know the difference between certain options and self assess your productivity and performance with automated tracked time data, the time spent on productive apps, and with customized reports. All these features assist to enhance your own productivity and work smoothly.
