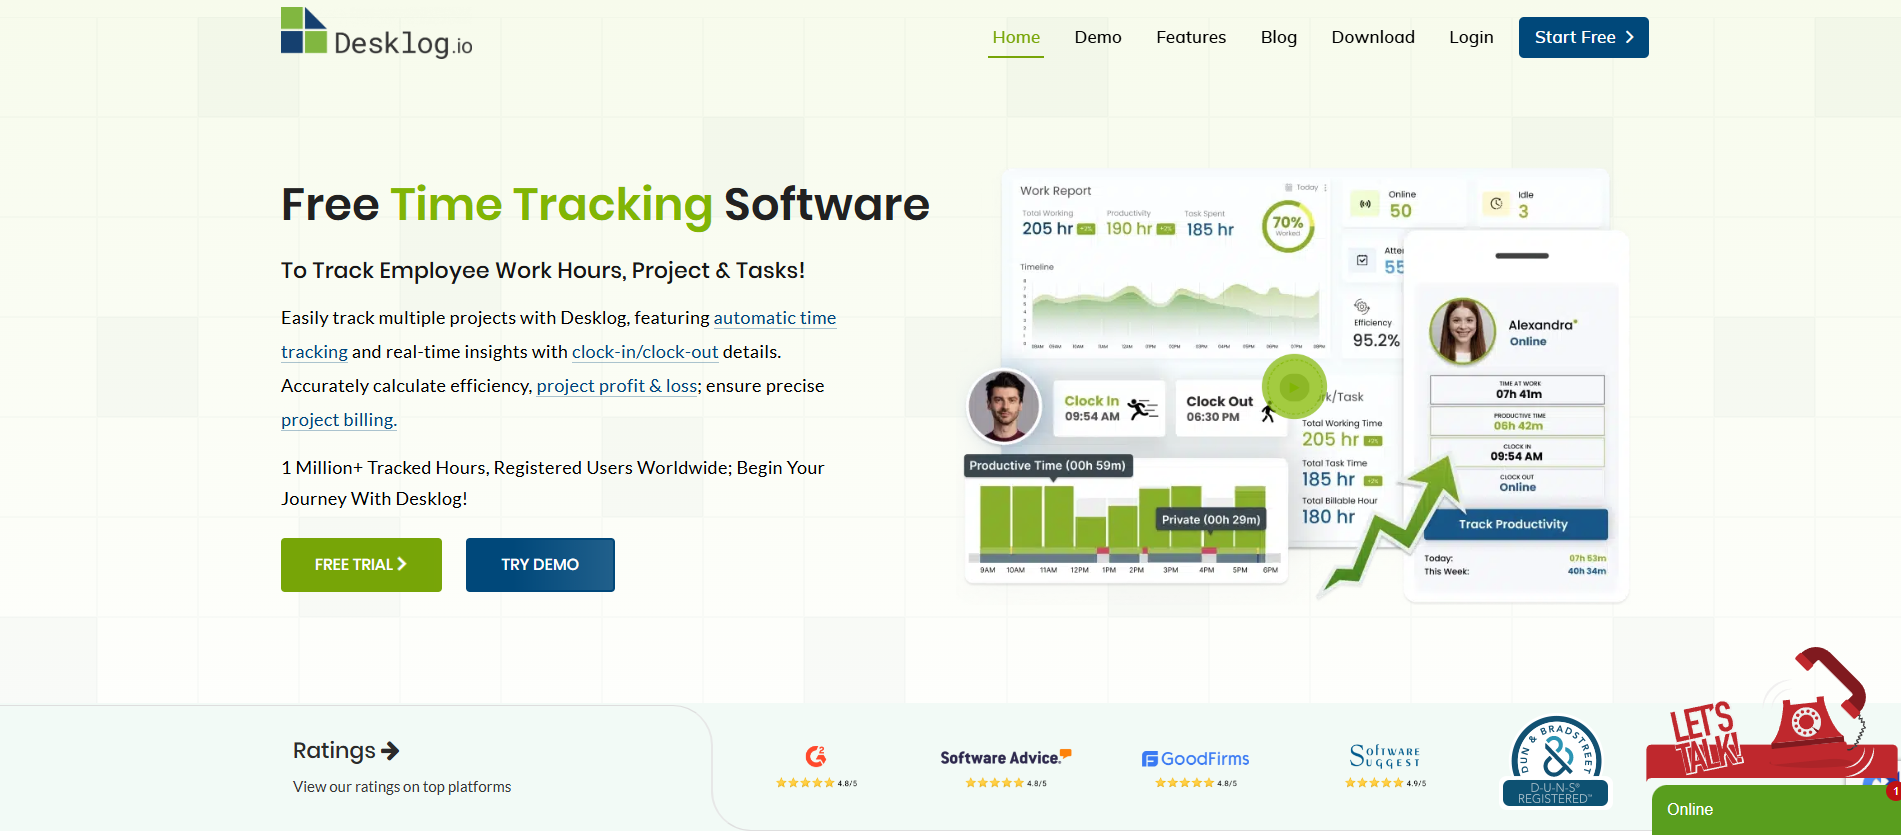
Step 1: Visit the Desklog website and click the Start Free option located at the top right corner of the screen.
Step 2: On the registration page, fill in the required details such as:
- Your email address
- Full name
- Password
- Country and State
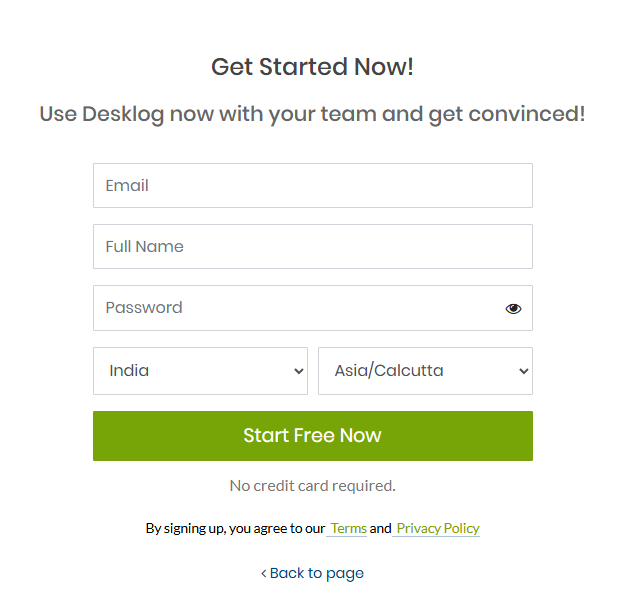
Once you’ve filled in the information, click Start Free Now to activate your trial and begin setting up your account.
Note: Initial settings can be changed later through the app’s settings.
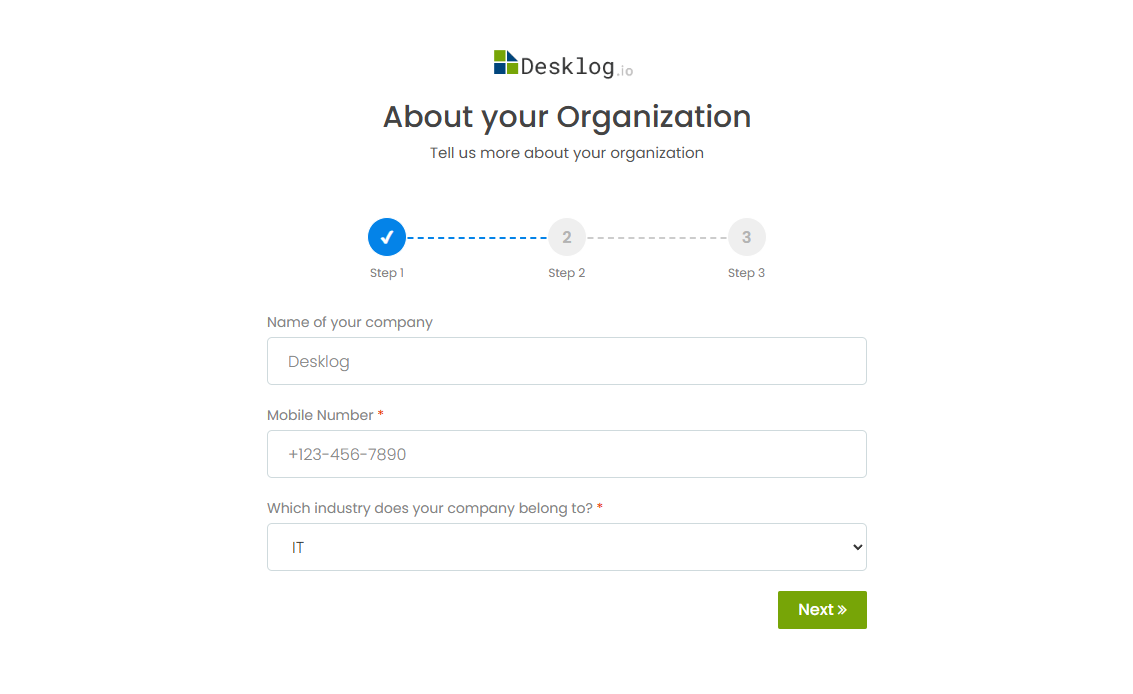
Step 3: Enter your company details such as:
- Company Name
- Mobile Number
- Industry Type
After filling in your organization’s details, click Next to continue to the next step.
Step 4: Enable/ Disable Project Tracking
![]()
In this step, you can choose whether to enable or disable Project Tracking. Just click on the desired option to configure it accordingly.
Step 5: Set Tracking Intensity Levels
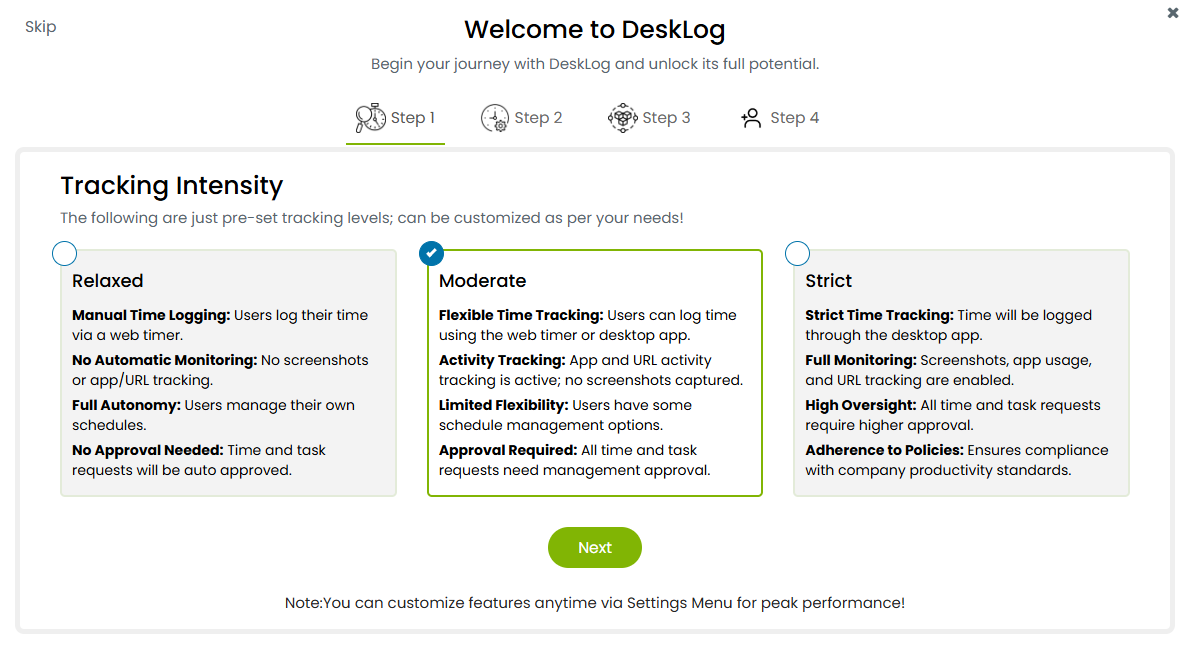
You’ll see three pre-set tracking intensity options:
- Relaxed
- Moderate
- Strict
Select the tracking level that best suits your organization’s needs and click Next.
Step 5: Configure Tracking Settings
Set Minimum Hours
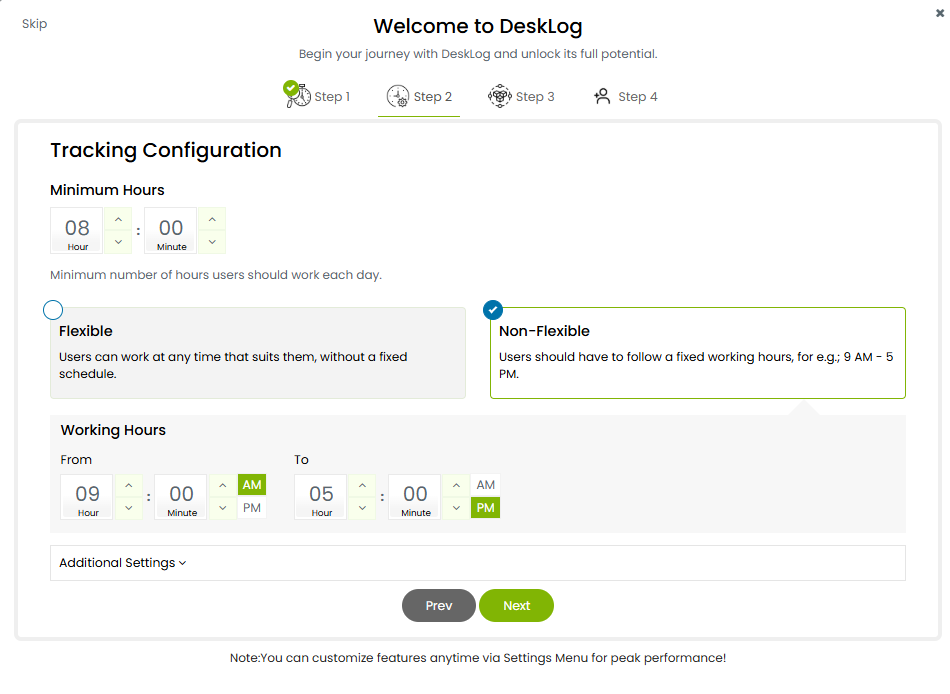
In this step, configure the minimum hours and decide if they should be Flexible or Non-Flexible. If you select Non-Flexible, specify the exact working hours.
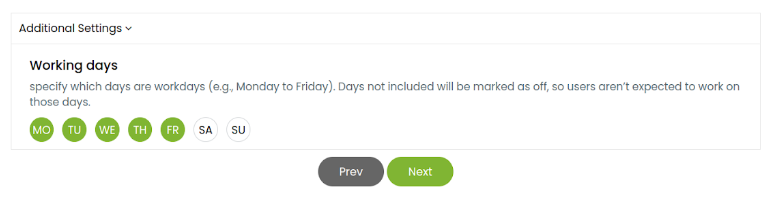
Click on Additional Settings to define the working days for your organization.
Once done, click Next.
Step 6: Employee Efficiency Configuration
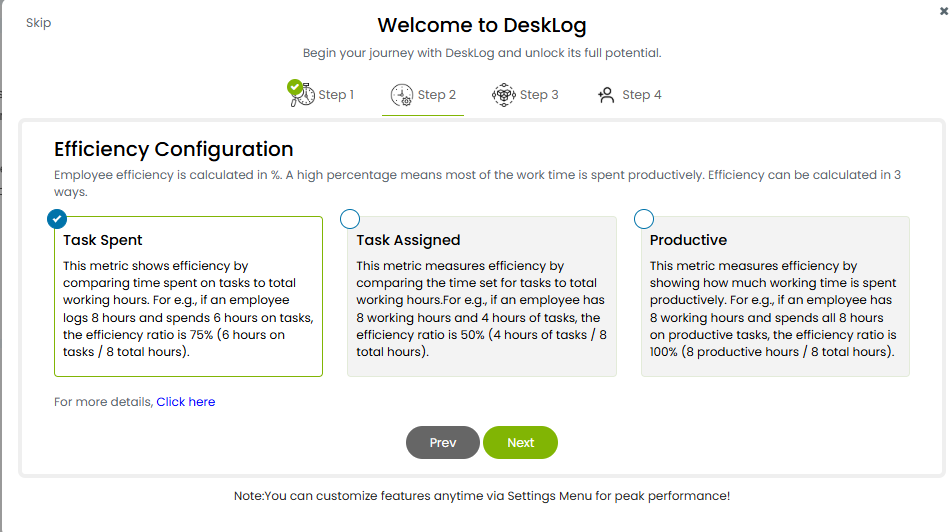
Choose how employee efficiency will be calculated. You have three options:
- Task Spent
- Task Assigned
- Productive
Select the most appropriate option and click Next.
Step 7: Enable Additional Features
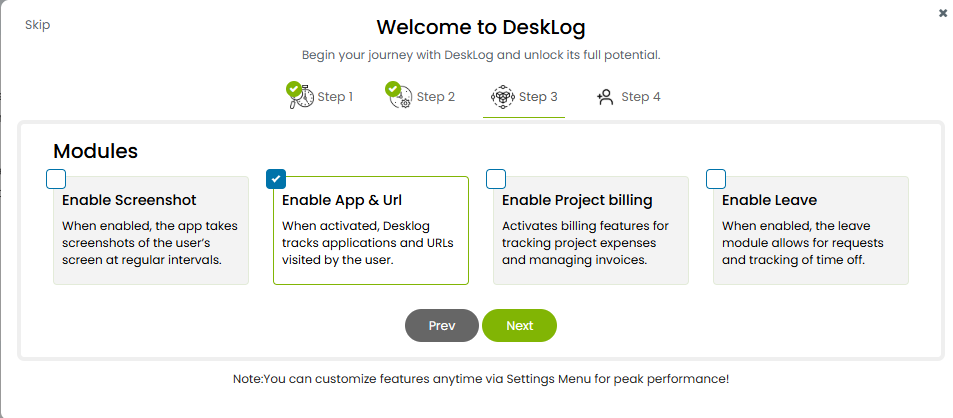
Now, enable additional features you want to use, including:
- Screenshots
- App and URL Tracking
- Project Billing
- Leave Tracking
Select the features you wish to activate and click Next.
Step 8: Configure Leave Settings
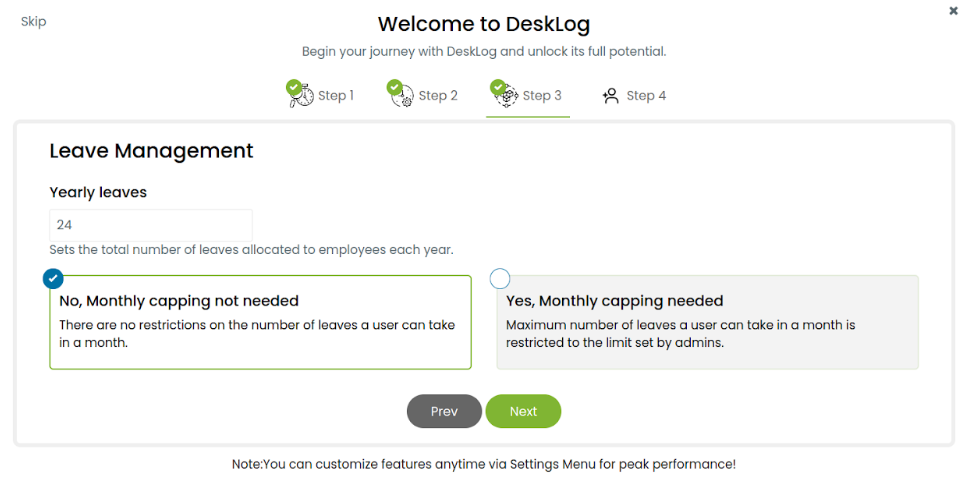
Set Yearly Leaves
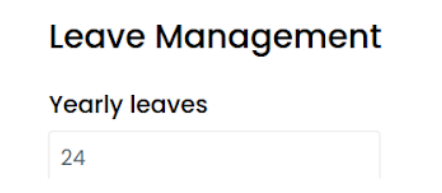
Specify the number of Yearly Leaves your team is entitled to.
You can choose to implement Monthly Capping for leaves. If enabled, define:
- The Monthly Cap
- Who the restrictions apply to
- Whether Leave Carryover is allowed
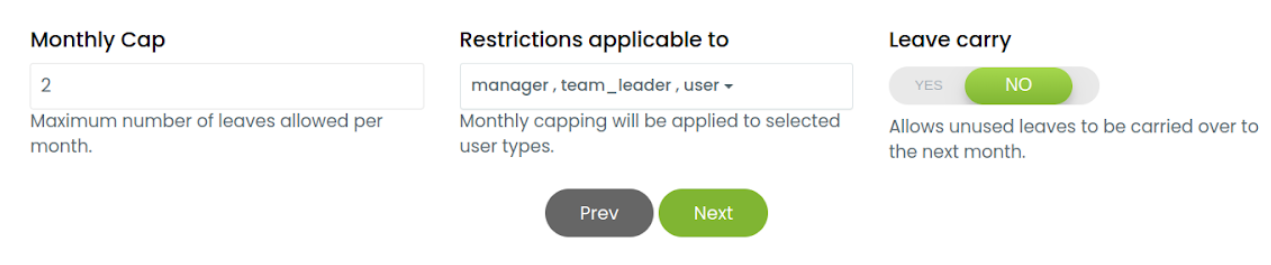
Once you’ve made your selections, click Next.
Step 9: Configure Project Billing
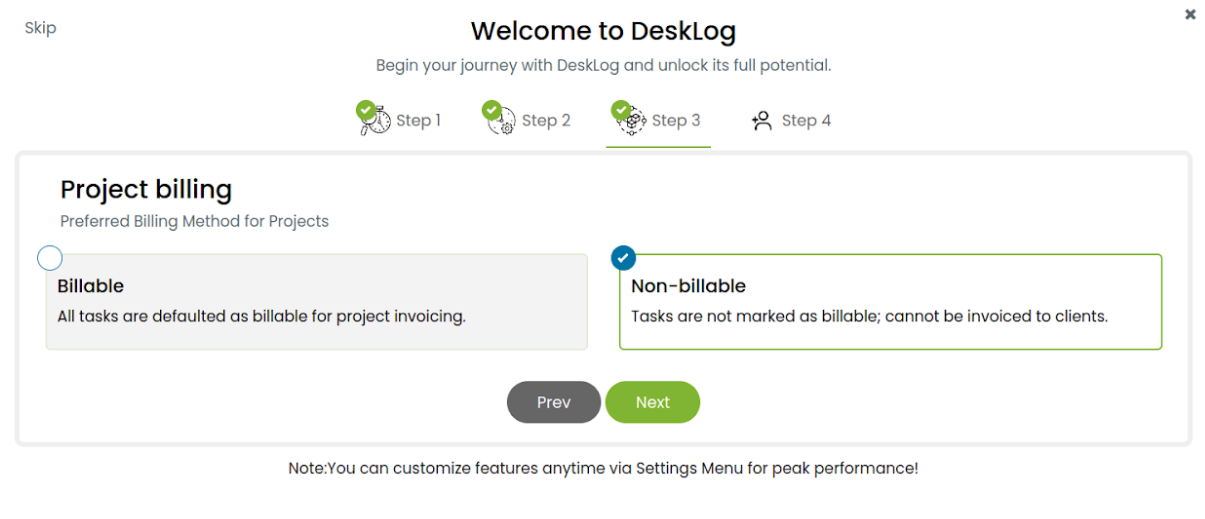
For Billable Tasks, choose from:
- Flat Rate
- Hourly
- User Hourly
Also, specify the rate for the chosen billing method and click Next to proceed.

Step 10: Invite Team Members
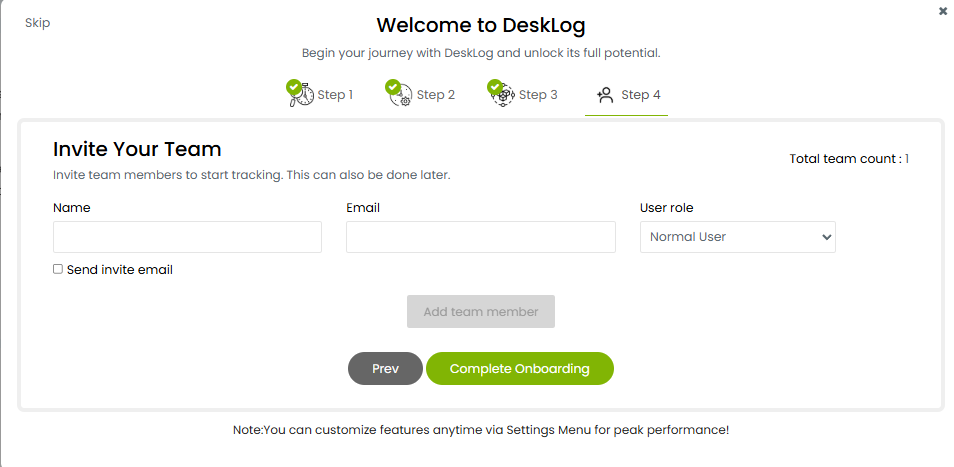
To invite your team, enter their:
- Name
- User Role
You can choose whether to send an email invitation or manually add new team members.
Once you’ve added all necessary members, click Complete Onboarding to finalize your setup.