Getting started with Desklog is simple and user-friendly. As an employee, it helps you stay productive, accurately track your work hours and collaborate more efficiently. Here’s a step-by-step guide to help you begin using Desklog with ease.
Step 1: Check Your Email
After your manager/HR invited you to be a part of their Desklog account, you will be receiving an email invite. Check your inbox to find the invite.
Step 2: Set Your Password
Open the invitation email and follow the instructions to set your individual Desklog password. The email will also include a download link for the Desklog Agent app.
Step 3: Download the Desklog Agent App
Use the download link in the email to install the Desklog Agent app. Be sure to choose the version compatible with your operating system.
Step 4: Log In to the Agent App
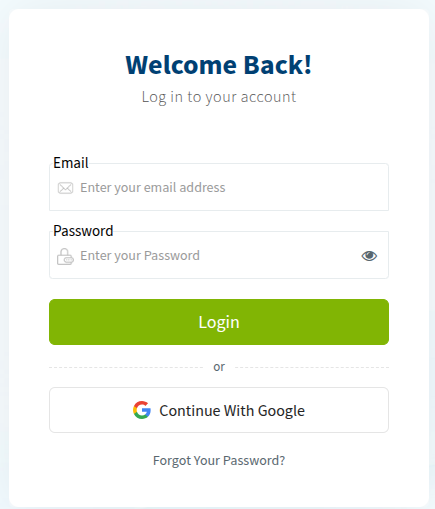
After installing, launch the Desklog Agent app and log in using your registered email address and the password you had set earlier.
Step 5: Start Tracking Automatically
After logging in, the Desklog Agent app icon will appear on your taskbar. When the icon turns green, it means your work hours are being automatically tracked in the background.
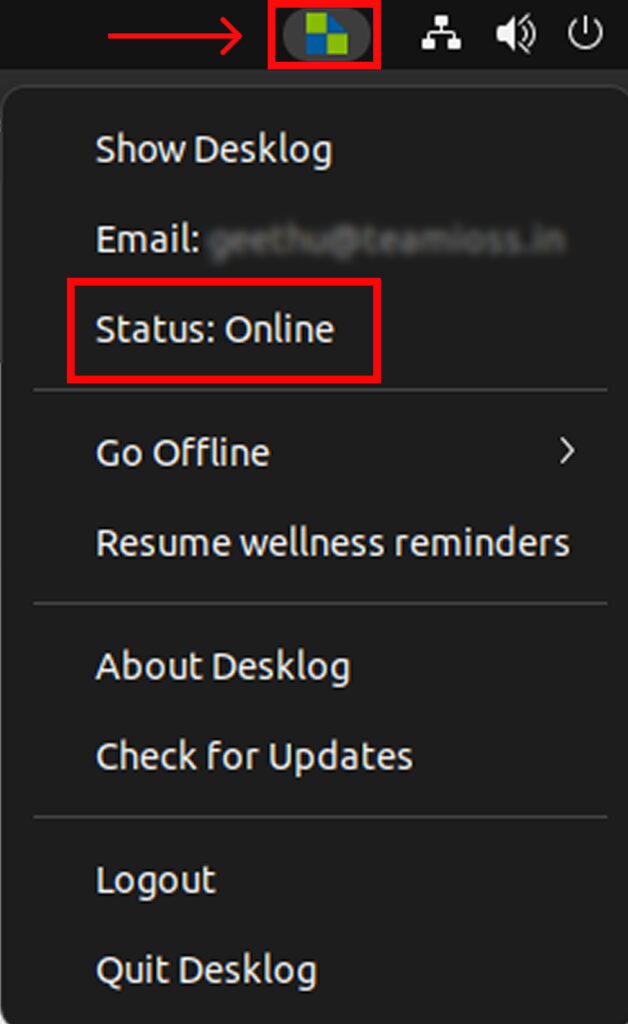
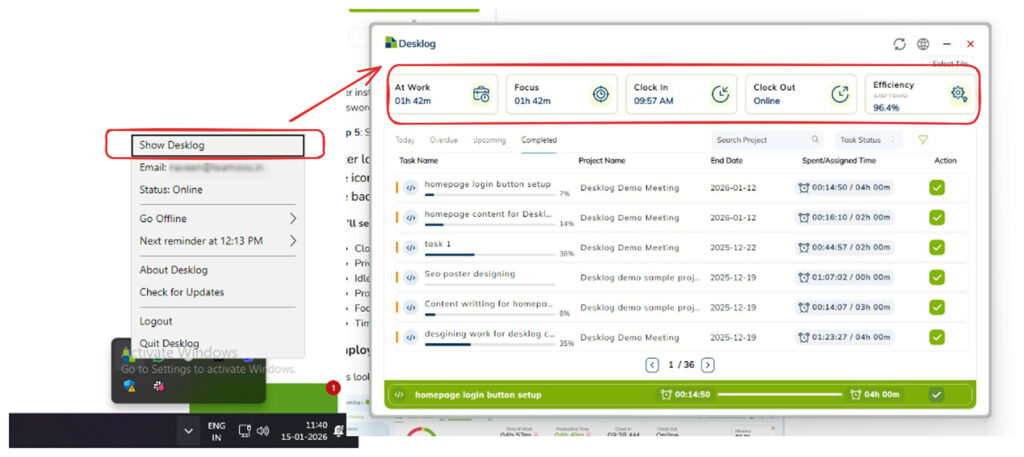
Step 6: Clicking on the icon will reveal a drop down which will have an option Show Desklog. Clicking on it will open up a concise view of your work data.
Step 7: For a better and more comprehensive view of your work data, please log in through our Desklog website.

Logging in to our web version will give you access to the following sections:
Employee Dashboard
Let’s look at the employee dashboard in detail:
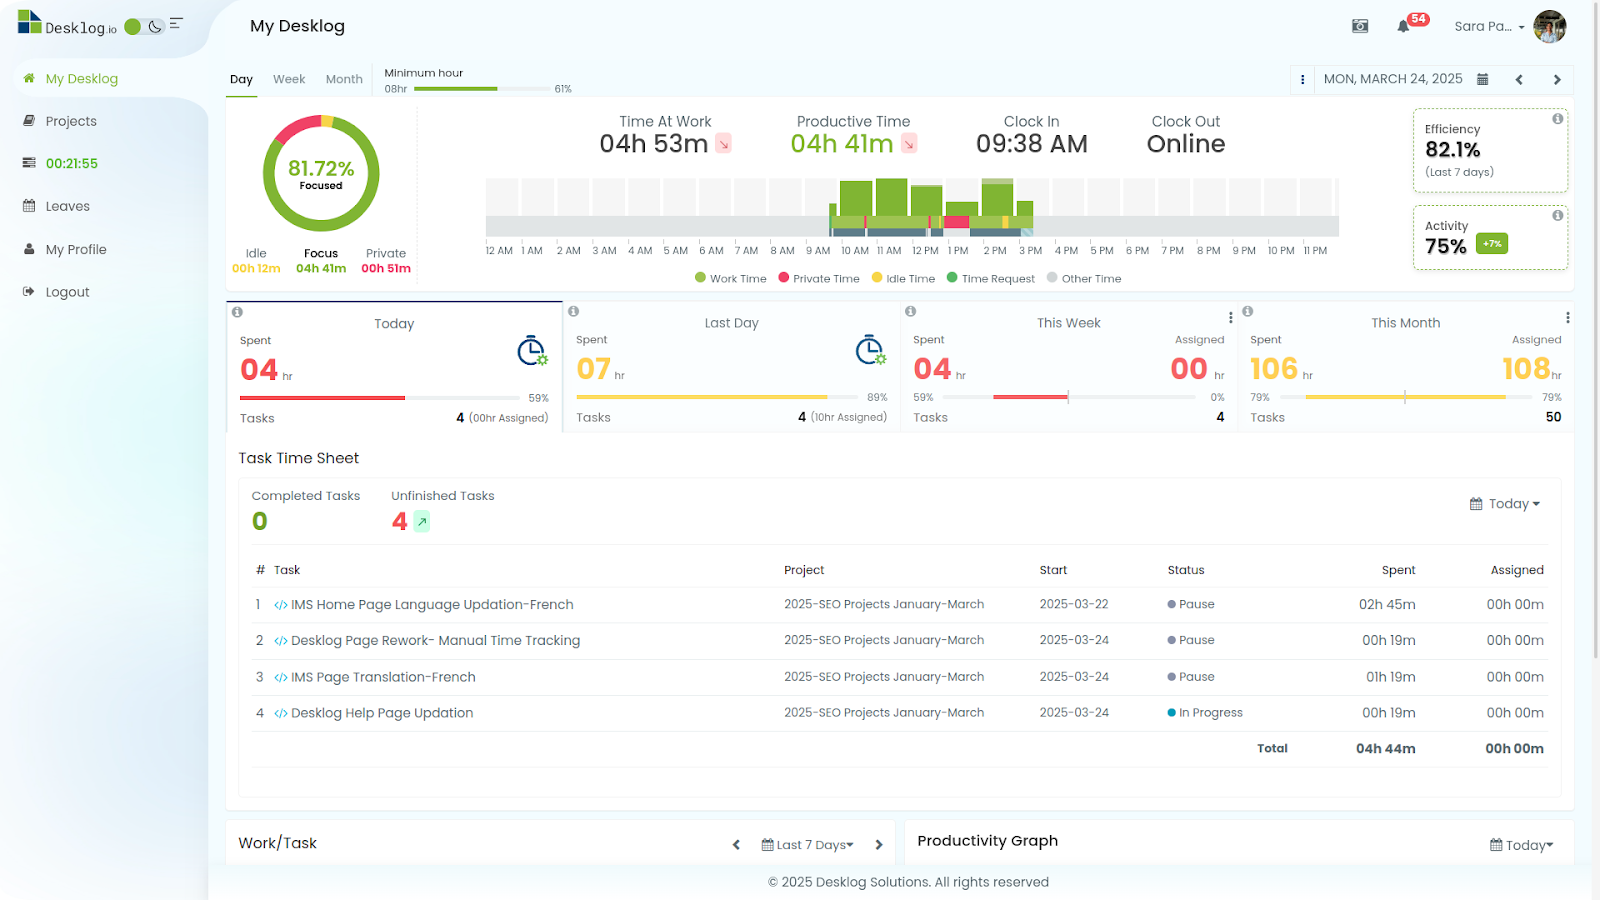
- You can view your tracked data on a daily, weekly and monthly basis by choosing accordingly.
- You can also view a graphical representation of the time you spent idle, focused and productive.
You can view details such as:
- Minimum Hour: The percentage of total work hours that an employee is required to complete on a specific workday.
- Time at Work: The total amount of time spent at the workplace.
- Productive Time: The total duration spent working productively during the day.
- Clock-In: The time when an employee logs in or starts their shift.
- Clock-Out: The time when an employee finishes their shift or logs out.
- Efficiency Percentage: It evaluates an employee’s efficiency which is calculated based on various performance-related criteria.
- Activity Percentage: It refers to the percentage of keyboard and mouse usage during the total tracked work time.
In the next section, you can track your task progress by comparing the time spent versus the time assigned on a daily, weekly, and monthly basis.You can also access your Task Timesheet, which shows the number of completed and pending tasks. Additionally, you can view your task list within a custom date range.

The graphical representation includes:
- Total Working Time
- Total Time Spent on Tasks
- Total Billable Hours
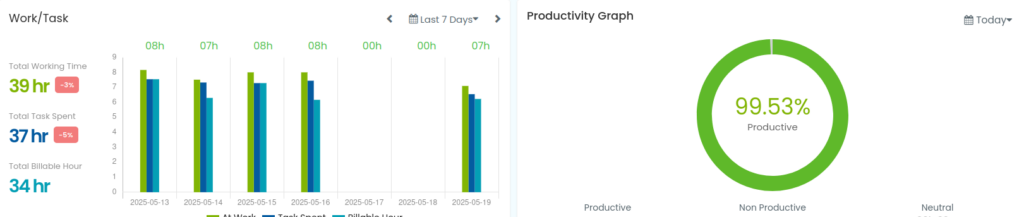
Furthermore, a productivity graph is available, showing how your time is divided into Productive, Non-Productive, and Neutral categories.
Projects
On the left panel, the user can navigate into the section titled Projects where you can have an overview of all the project details.
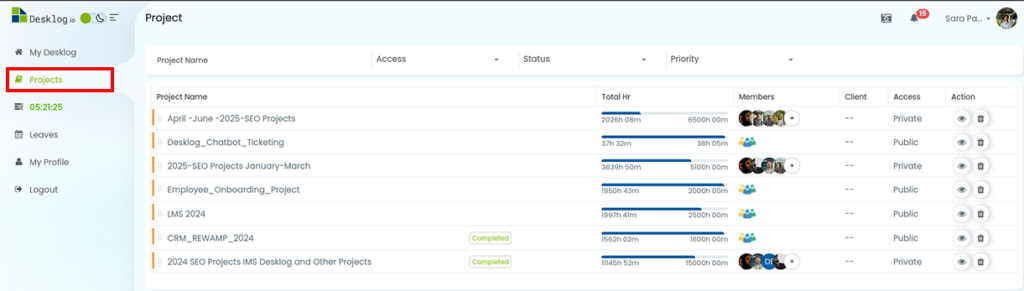
In this section, the user can get details of the projects such as Project Name, Total Hours spent on the project, Members within the same project, Client name etc.
The Access option lets you select whether the project is public or private and the Action option allows you to view all the tasks within the project.
My Tasks
Beneath Projects come My Tasks, which will open up all the tasks the user has been assigned in a List View. Users can also add tasks and run them from here.
In the list view, the user can see their tasks arranged into Today, Overdue, Upcoming and Completed.
- Today: Displays all tasks assigned for the current day.
- Overdue: Lists tasks that were supposed to be completed earlier but are still in progress.
- Upcoming: Shows tasks that are scheduled to be completed for future dates.
- Completed: Lists all tasks that have been finished.
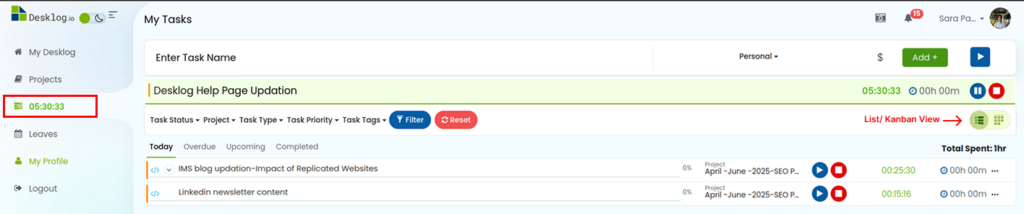
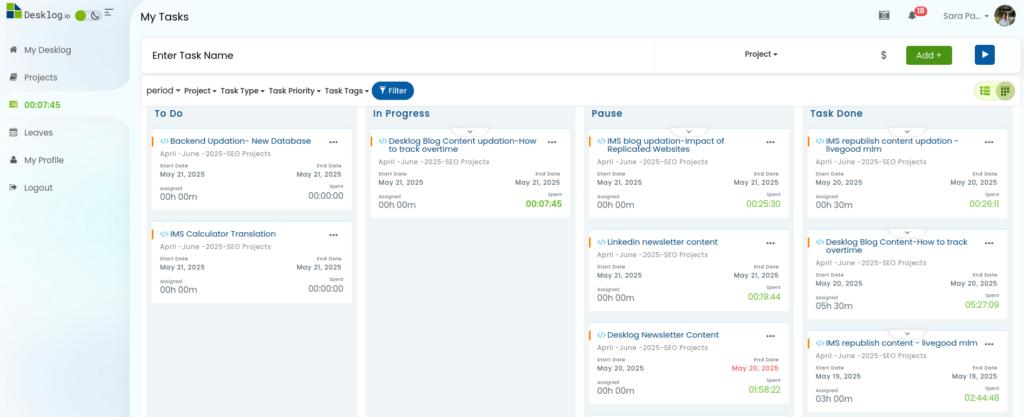
You can change List View to a Kanban View using the button on the top right corner.,
In Progress, Paused and Done. Users can also add tasks and run them.
How Can User Add Tasks
Step 1: Navigate to the My Tasks section in the left panel.
Step 2: On the page that opens, enter the task name.

Step 3: Select the project from the drop down menu.
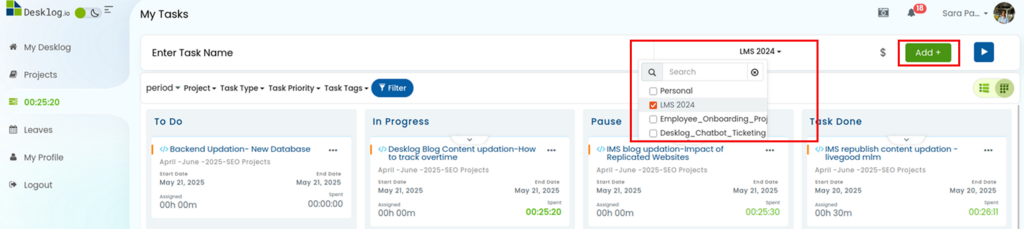
Step 4: Click on the Add + button to create and save the task.
Leaves
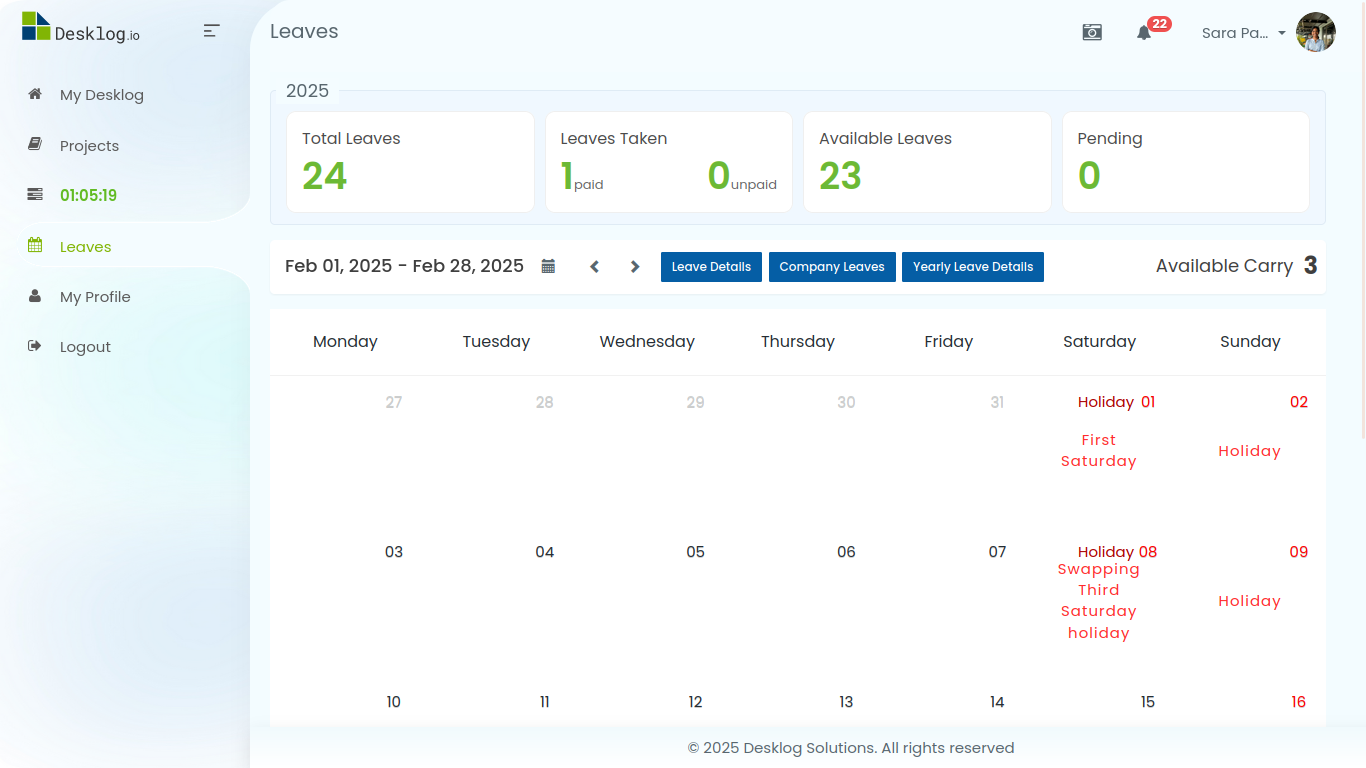
Users can view their leave details in the Leaves section including total leaves, leaves taken, available leaves and pending leaves. You can also easily view company holidays and apply for leaves from the calendar.
How to Apply for Leave in Calendar
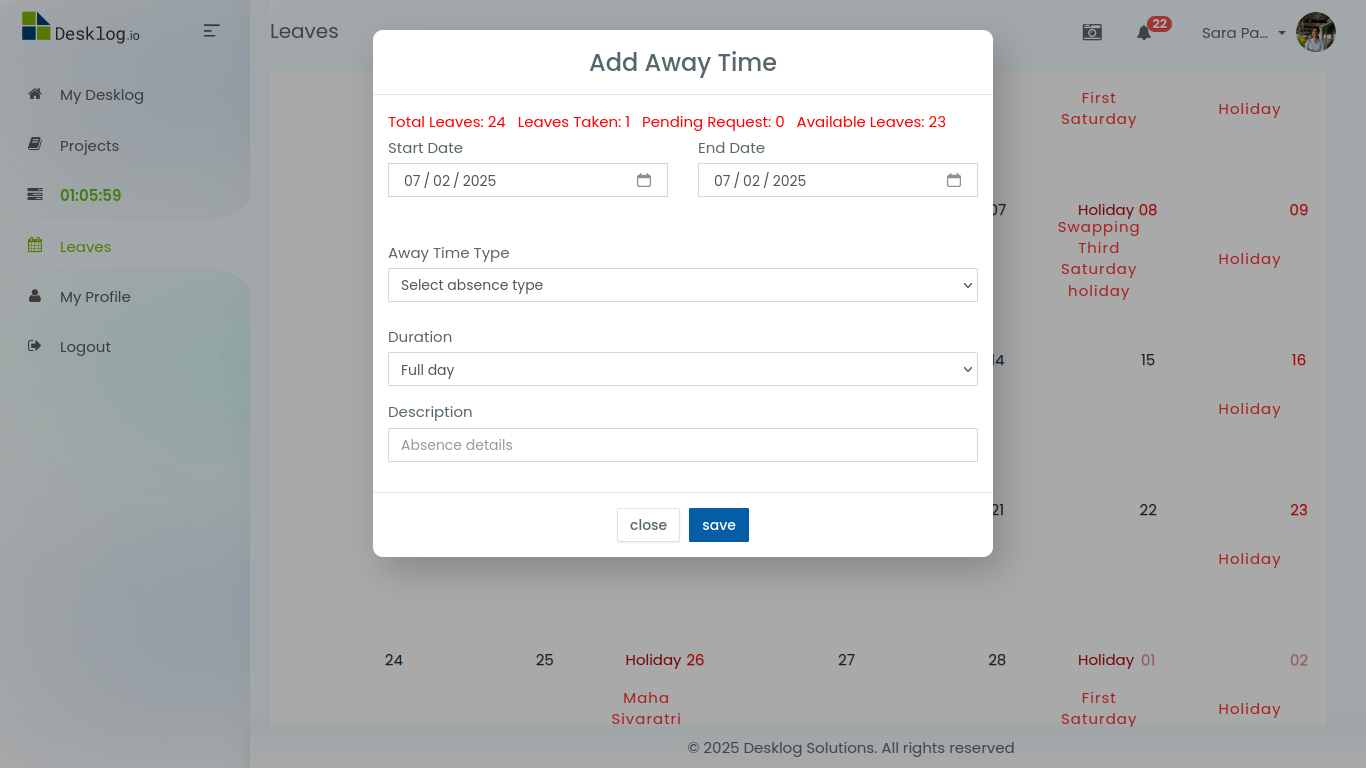
Step 1: Click on the date on the calendar you wish to apply leave on.
Step 2: Click on the Add Away Time button.
Step 3: In the window that opens up, enter the following details:
- Start Date: Specify the date the leave will start
- End Date: Specify the date the leave will start
- Away Time Type: Select the away time type as Paid or Unpaid
- Duration: Select whether the leave is a Full Day or a Half Day
- Description: Enter the leave details
Step 4: Click Save.
My Profile

Below Leaves is My Profile that lets the user view and edit their profile details such as name and phone number. You can also change your account password.
How Can User Change Password
Step 1: Click on My Profile from the left panel. The page that appears will show your personal details such as your name, email, team name and phone number.
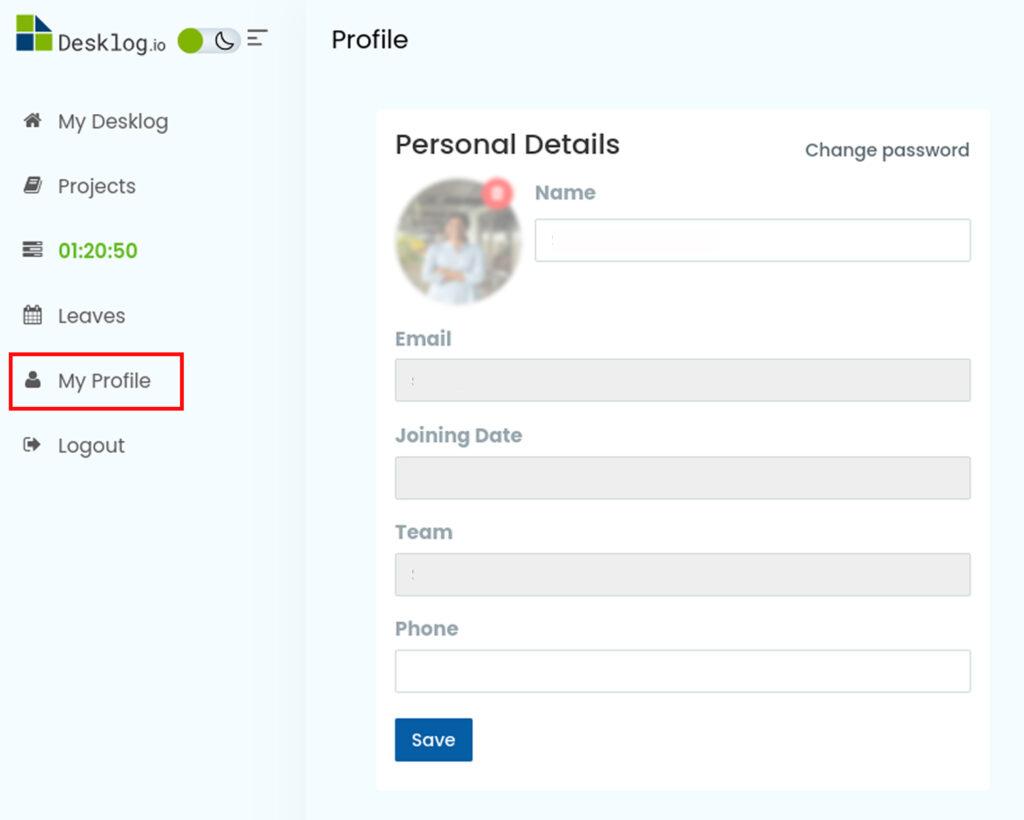
Step 2: Click on Change Password in the top right corner of the profile section. A dialog box will appear for changing your password.
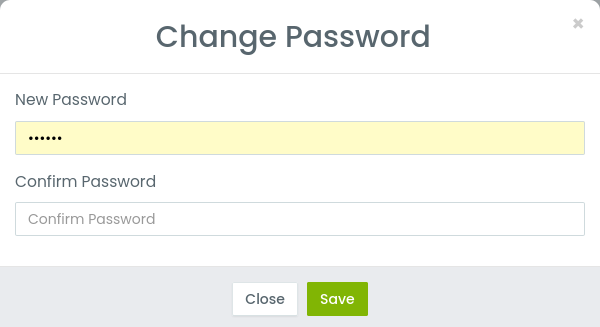
Step 3: Enter your new password in the New Password field.
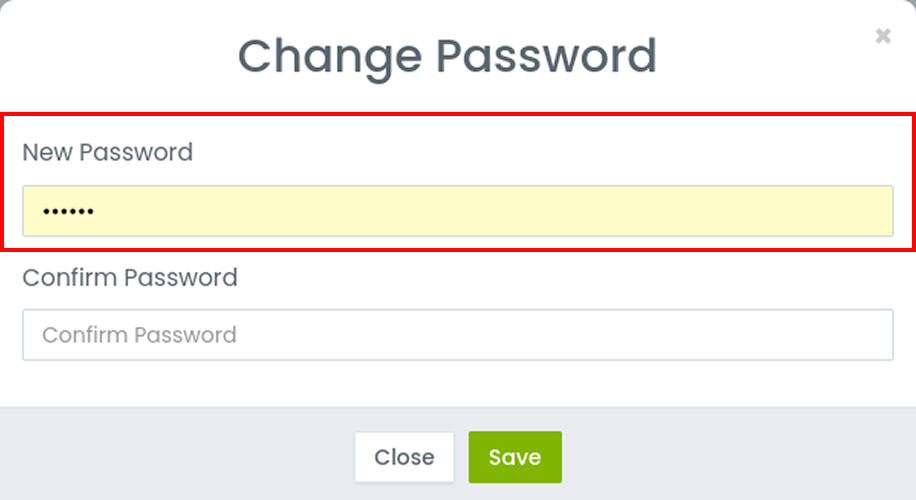
Step 4: Confirm your new password by entering it again in the Confirm Password field.
Step 6: Click the Save button to update your password.
Logout
The Logout option lets the user log out of the Desklog App.