To integrate Desklog with Jira, follow the steps given below:
Step 1: Go to the Jira interface and from the left panel, click on Apps. From the dropdown, click on Explore More Apps.
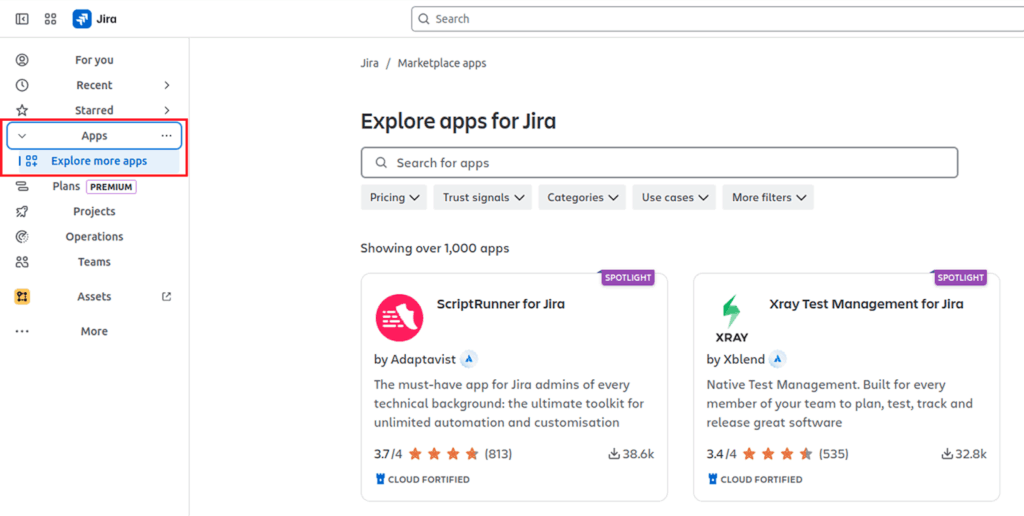
Step 2: In the search field, search for Desklog.

Step 3: Click on the Desklog App and in the page that opens, navigate to the Get It Now button and click on it.
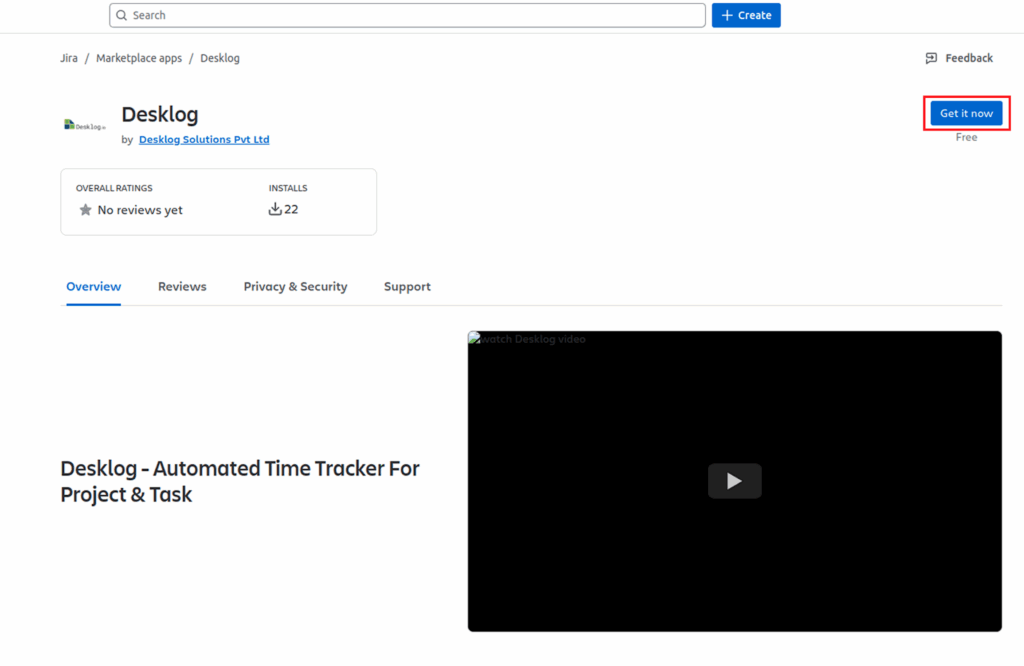
Step 4: This will lead you to an interface where you have the option to review app details such as app permissions, terms and conditions etc. Review and click on the Get it Now Button.

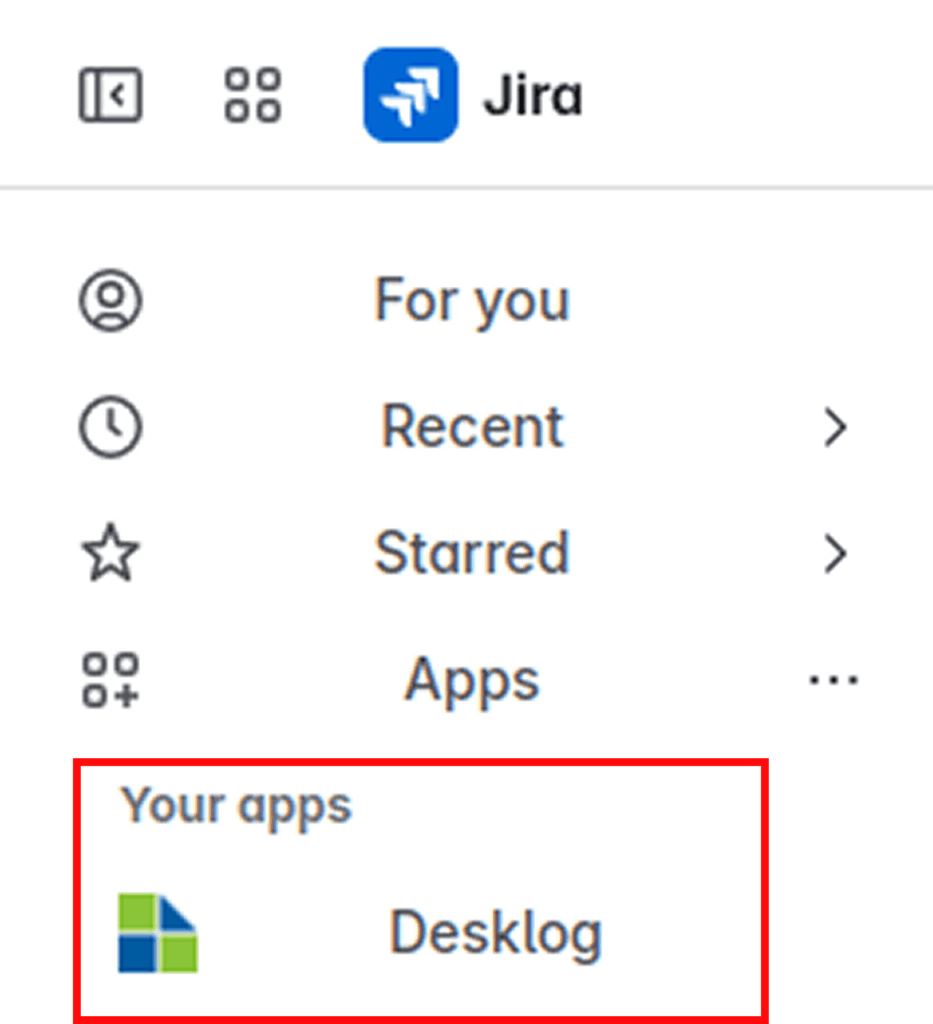
Step 5: Desklog will be added under your apps in Jira.
Step 6: Open the Desklog app. Click on Settings from the Admin left panel and then click on Integrations.
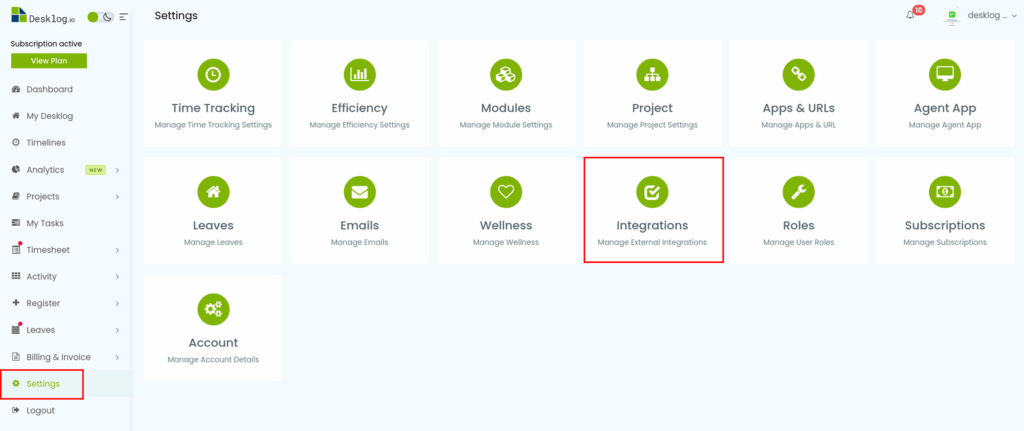
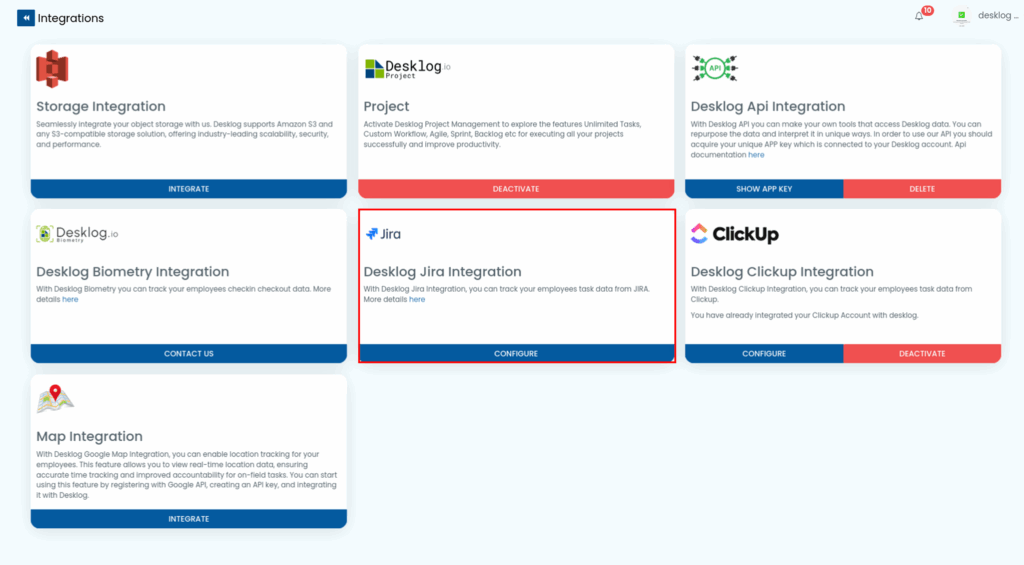
Step 7: Navigate to Jira integration and click on Configure.
Step 8: In the interface that opens, navigate to Add New Account.
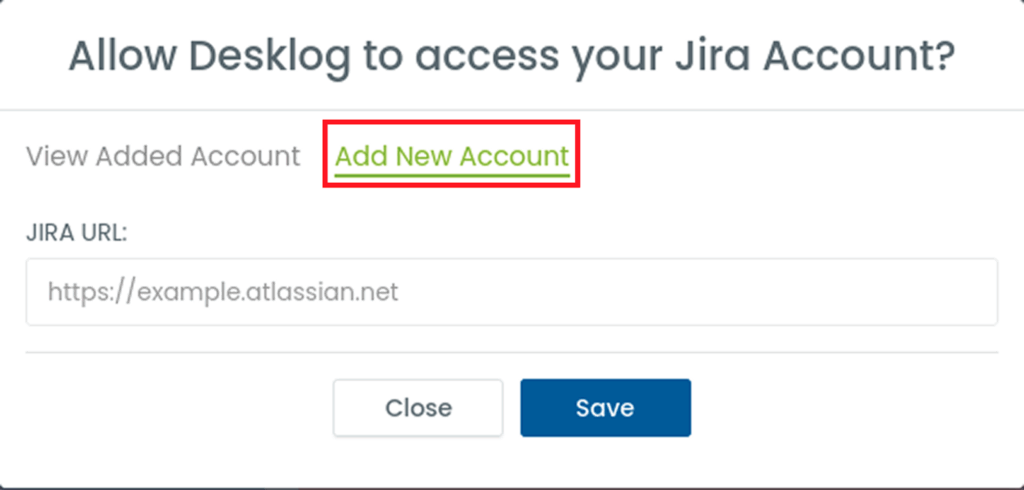
Step 9: Open your Jira account again and copy the URL till .net as the example shown. Paste it in the field under JIRA URL and click Save. Your JIRA account will be added successfully.
Step 10: Next, go to the View Added Account in the same interface. You will see the added account here.
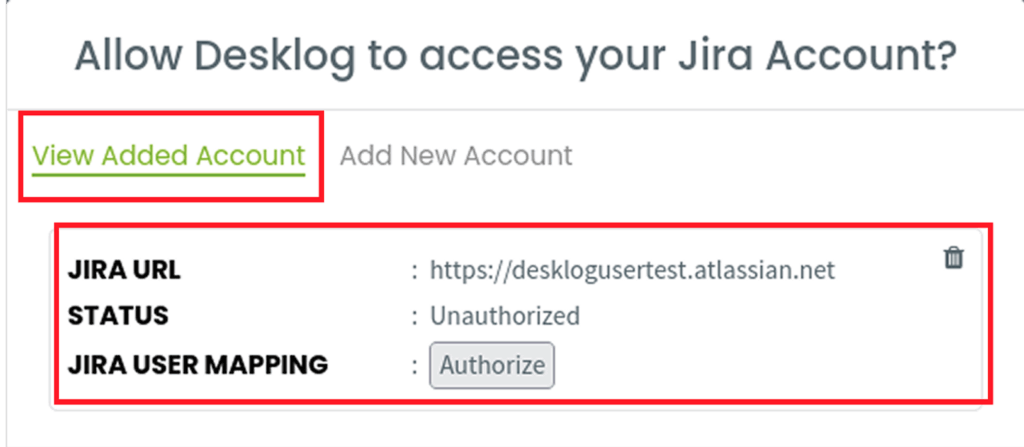
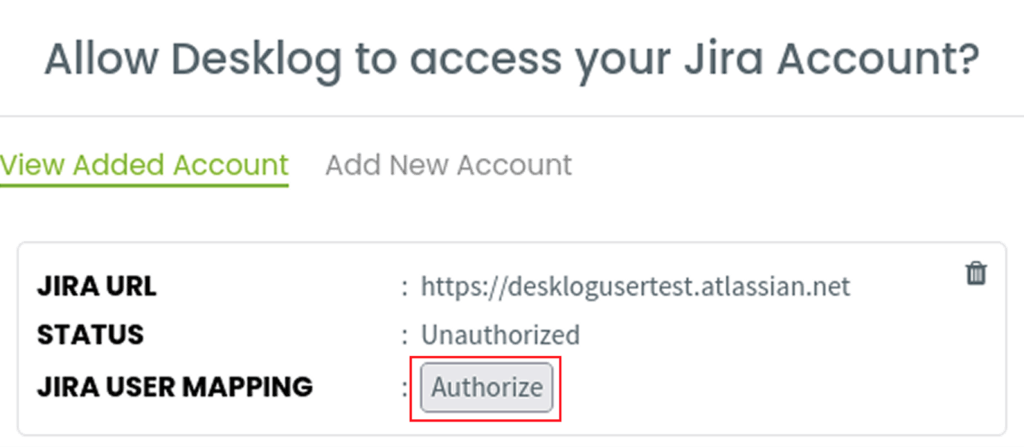
Step 11: The status is currently Unauthorized. Click the Authorize button.
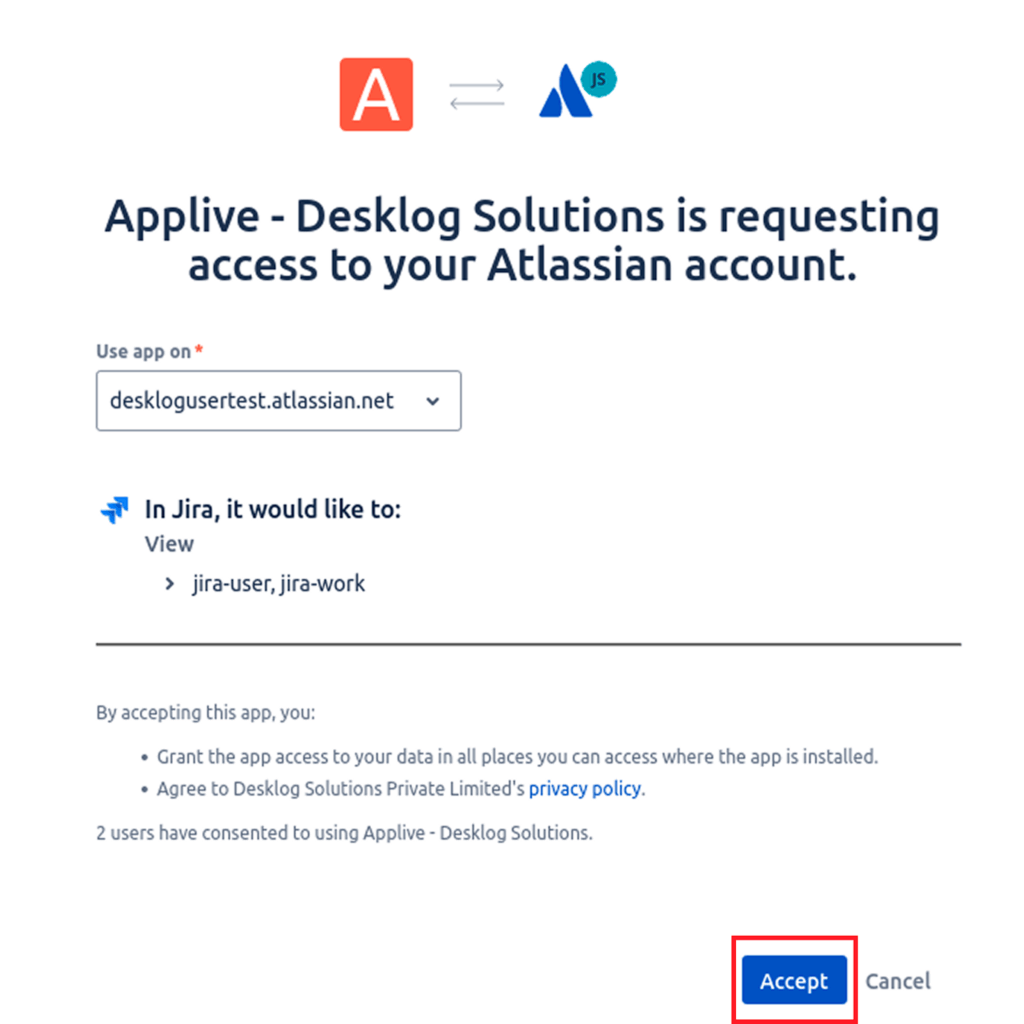
Step 12: This will open up a page asking you to confirm that you are granting Desklog access to the JIRA account. Click on the Accept button to continue.
Step 13: Clicking Accept will redirect you to the integrations page in the Desklog app. Navigate to JIRA integration once more and click Configure.

Step 14: In the interface that opens, locate the Connect button and click on it. This will complete the process of Desklog’s integration with JIRA.

Step 15: The next step is User Mapping. If the email IDs associated with your Desklog and Jira accounts are the same, the mapping will happen automatically. If they differ, you can manually map users by following these steps:
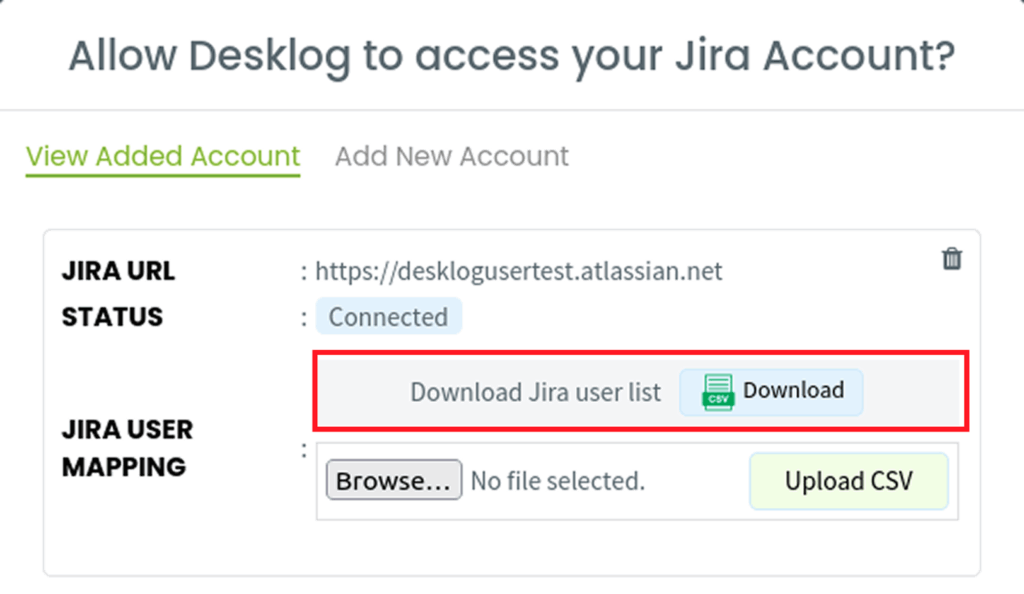
Once you connect, you can download the Jira user list as shown below.
Step 16: When you open the user list, you will be able to view all the Jira users along with their Jira Account ID. There is also a column titled Desklog Email.

Step 17: In the column titled Desklog Email, add the email ID each of these users have registered with Desklog.

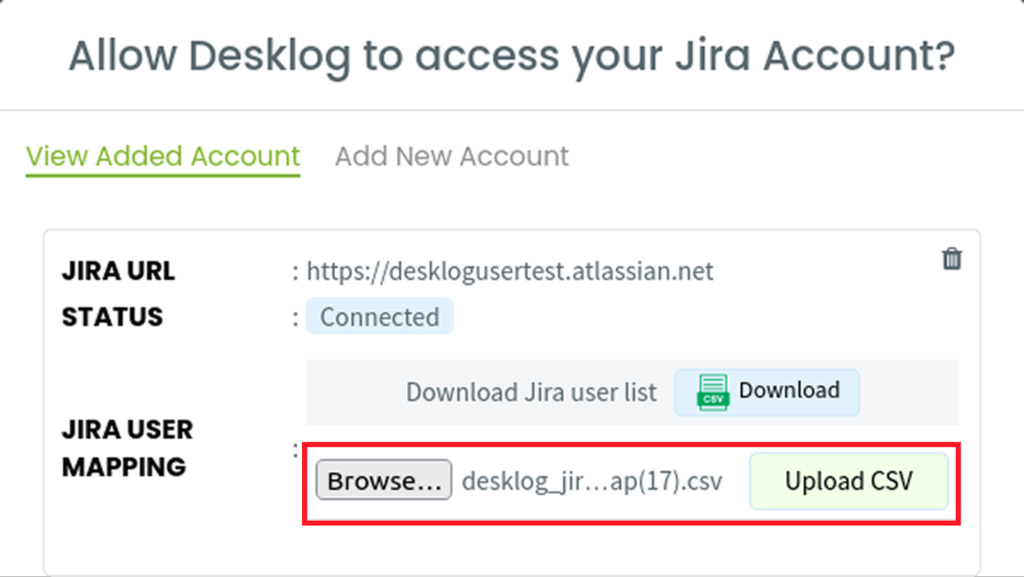
Step 18: Save the document and upload it by clicking the Upload CSV button as shown in the field as shown in the below screenshot.
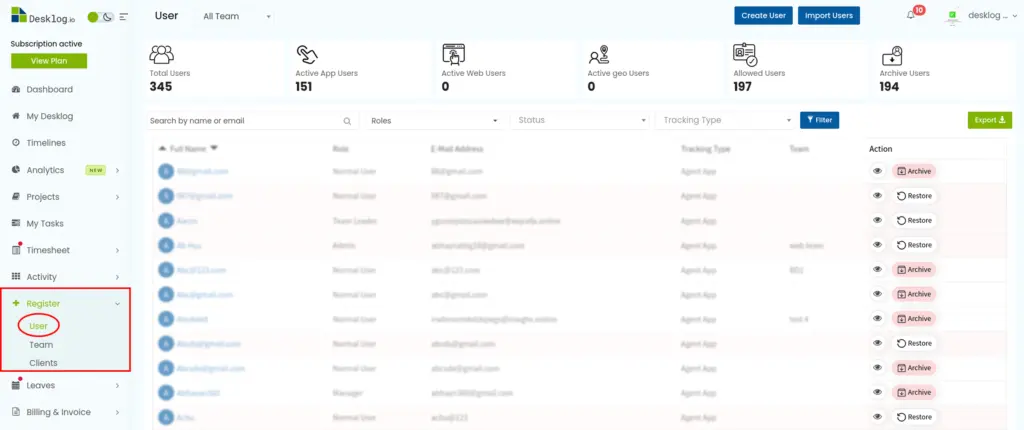
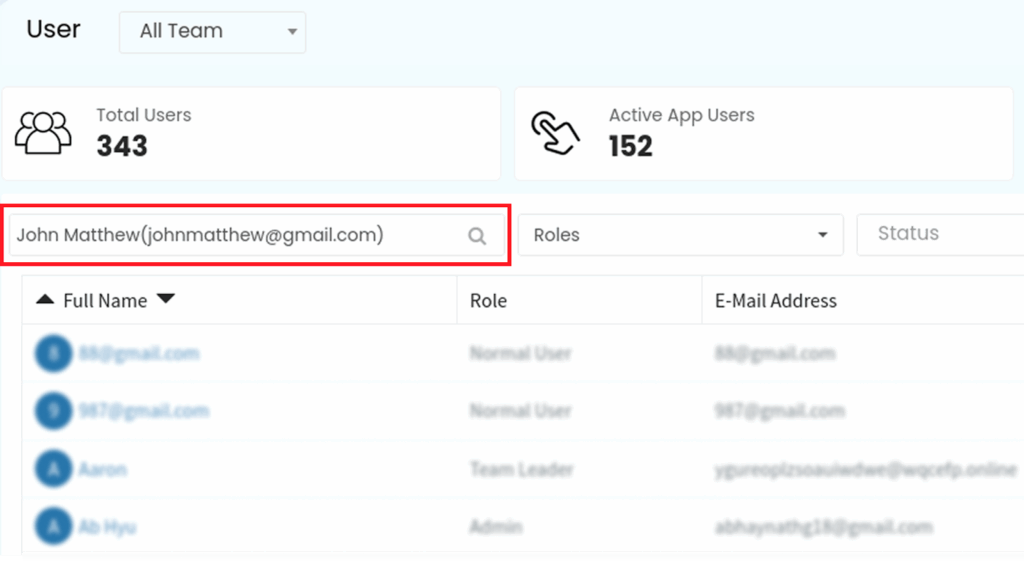
Step 19: After your CSV file has been processed, go to the newly added User’s profile. For this, go to Desklog’s admin panel and click on Register and then from the dropdown, click User.
Step 20: Locate the user by searching their name on the search field.
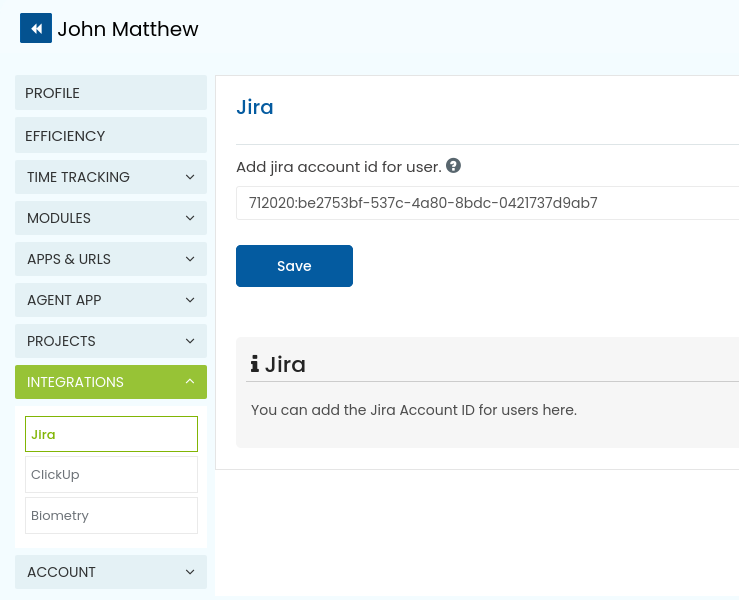
Step 21: Selecting the User will lead you to a page where you can configure all User settings. In this interface, locate the section Jira Account Settings.
The Jira ID for the user will be automatically added, indicating that the user has been successfully integrated with the Jira account.
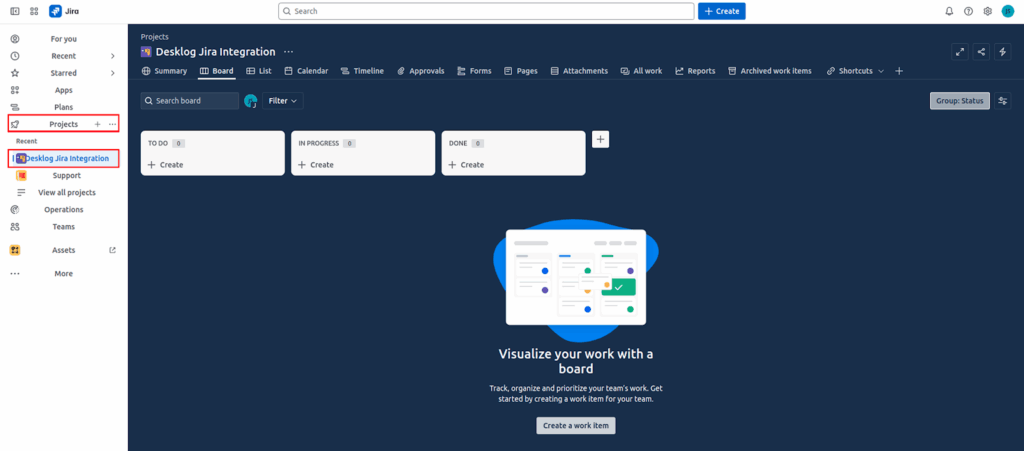
Step 22: We can now look at how Desklog JIRA integration works in real time. For that, open the Jira interface and click on Project in the left panel. You can either select an existing project or add a new one.
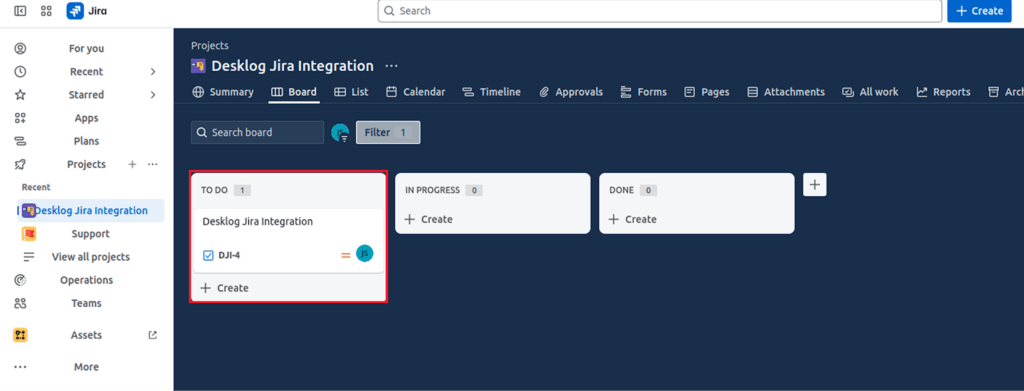
Step 23: Navigate to the + Create within the To Do field and create a task. You can also assign the task to one of the users you have added.
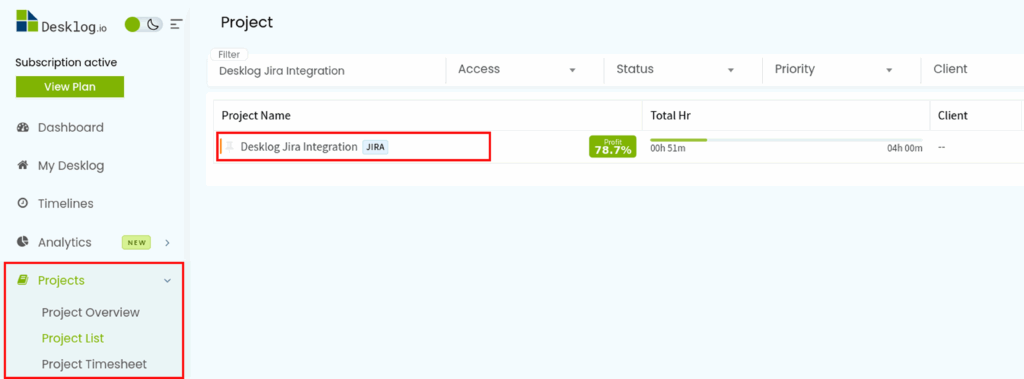
Step 24: Go to Desklog and open the project list. You can do this by navigating to the admin left panel, clicking on Projects and then Project List. You can see that the project you created in Jira has been added to the list.
Step 25: Click on the project to view all the tasks within. You can see that the task you created in Jira is there within this project.
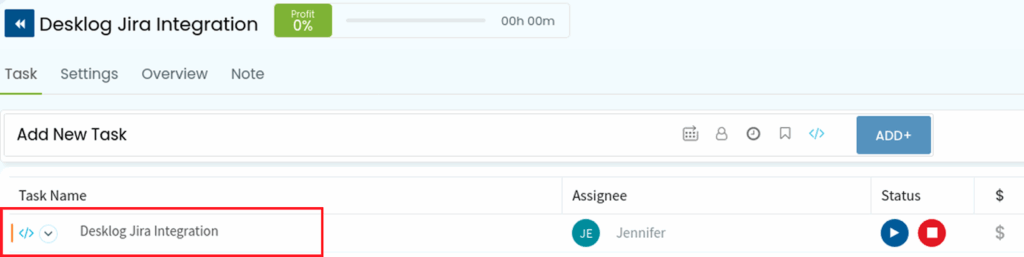
Any change that you make to the project in Jira will be reflected in Desklog. If you run the task in Jira, the task will be shifted to In Progress in Desklog.