Creating a project in Desklog is the first step to efficiently organizing your team’s work and tracking progress in real-time. Let’s create a project with simple steps;
Step 1: From the Admin left panel, click on Projects and then Project List from the drop down.

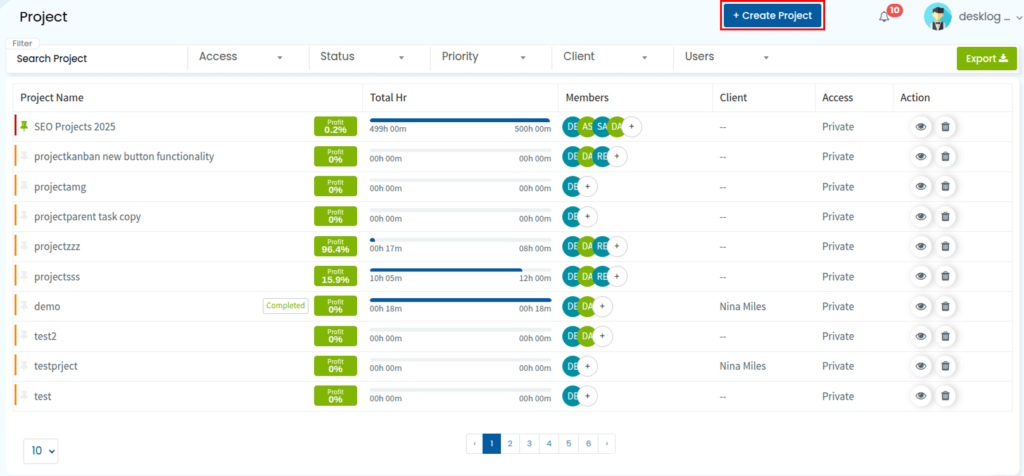
Step 2: From the page that opens, navigate to a button named +Create Project.
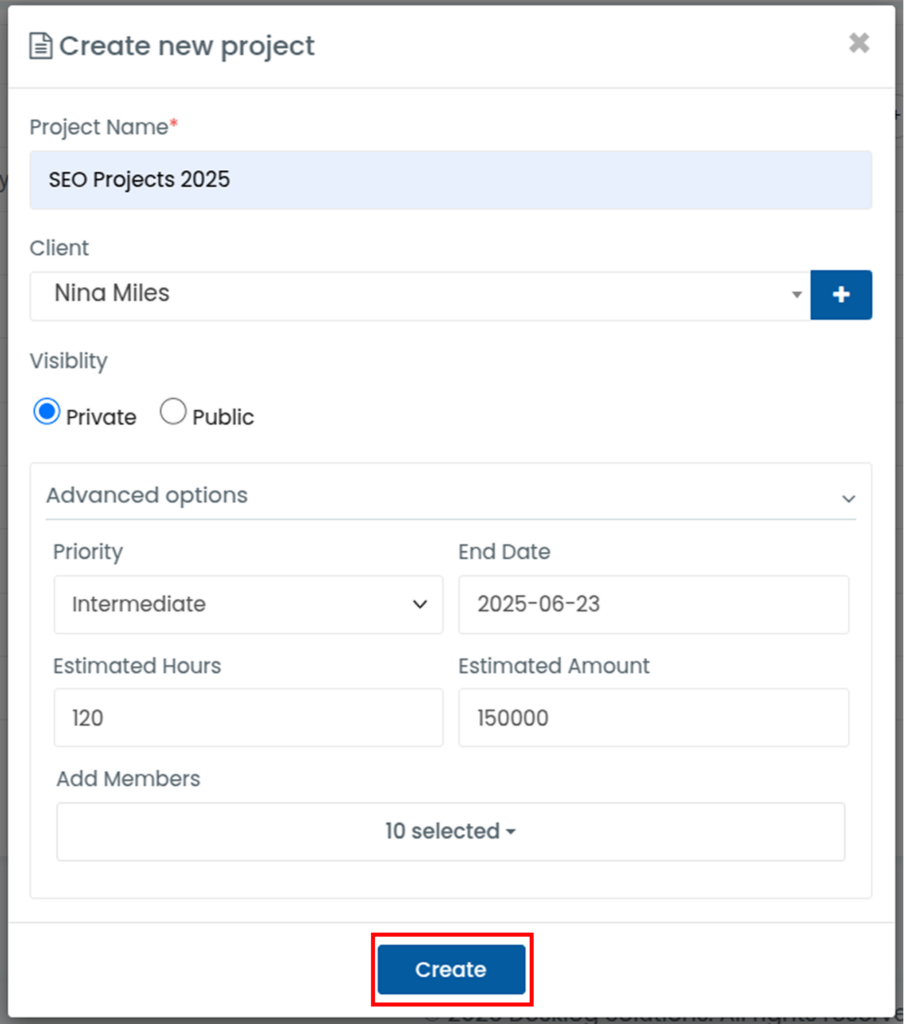
Step 3: In the field that opens, fill in details such as:
- Project Name: The name of the project you wish to create.
- Client: Select the client of the new project you wish to create.
- Visibility: Specify whether the project is private or public.
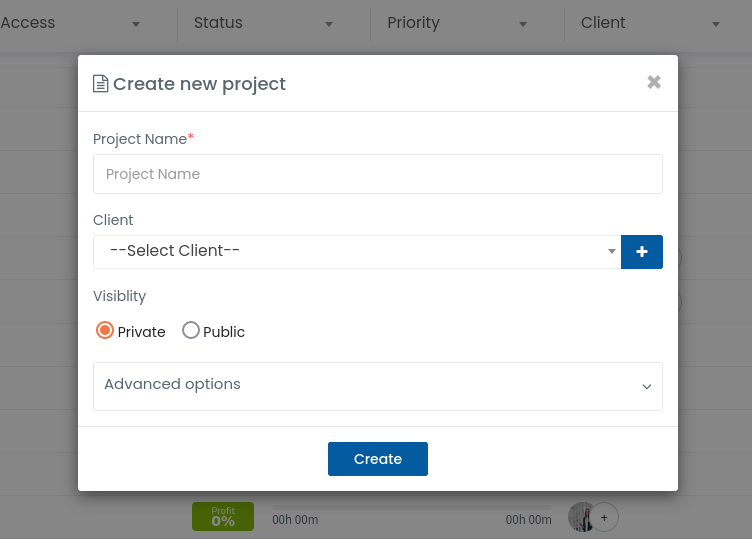
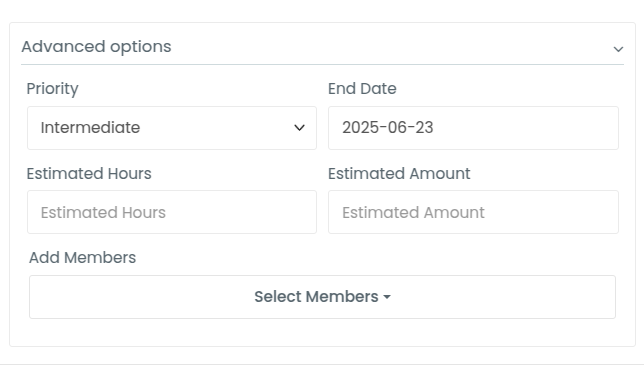
Then, you can also select advanced options such as as:
- Priority: Set priority as Critical, Intermediate, Low or Trivial.
- End Date: Set the end date of the project.
- Estimated Hours: Specify time by which you expect the project to be completed.
- Estimated Amount: Specify the cost you expect the project will incur.
Step 4: After filling in all these details, click the Create button. Your newly created project will appear on the listing.