Only the Admin or Desklog account owner has permission to modify an application’s productivity classification.
Navigate to App Productivity Settings
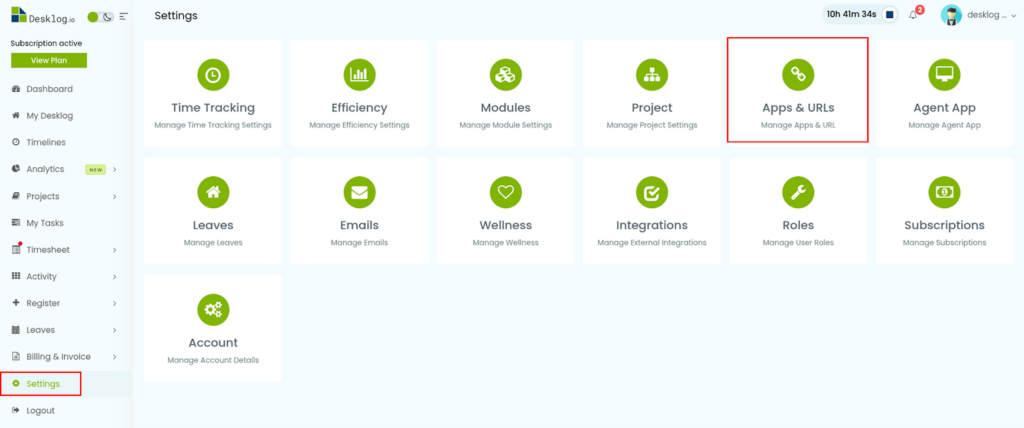
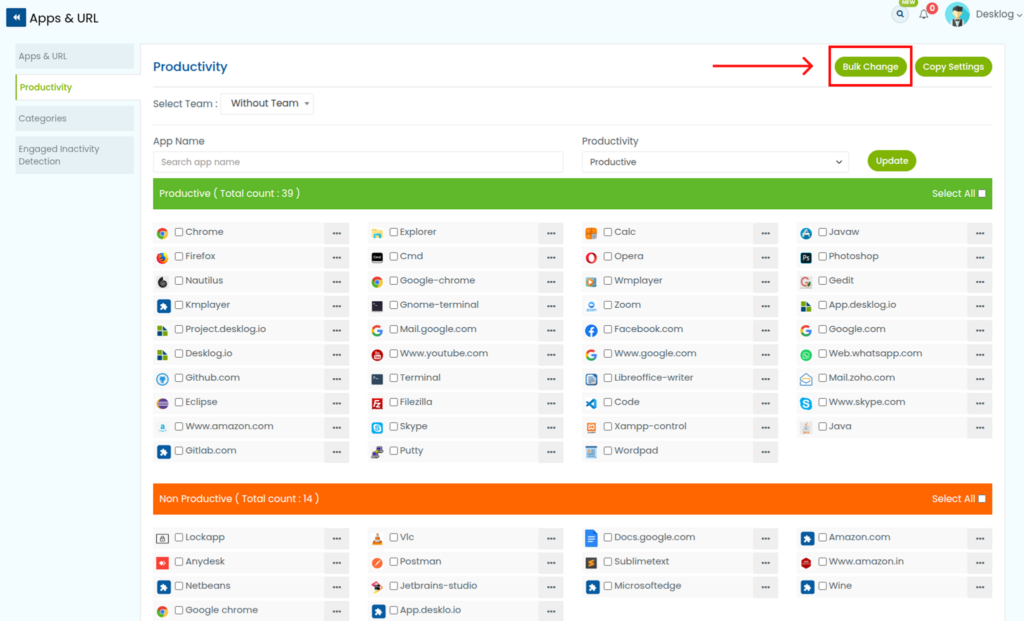
- Go to Settings. Select App/URL’s.
- Navigate to the Productivity section.
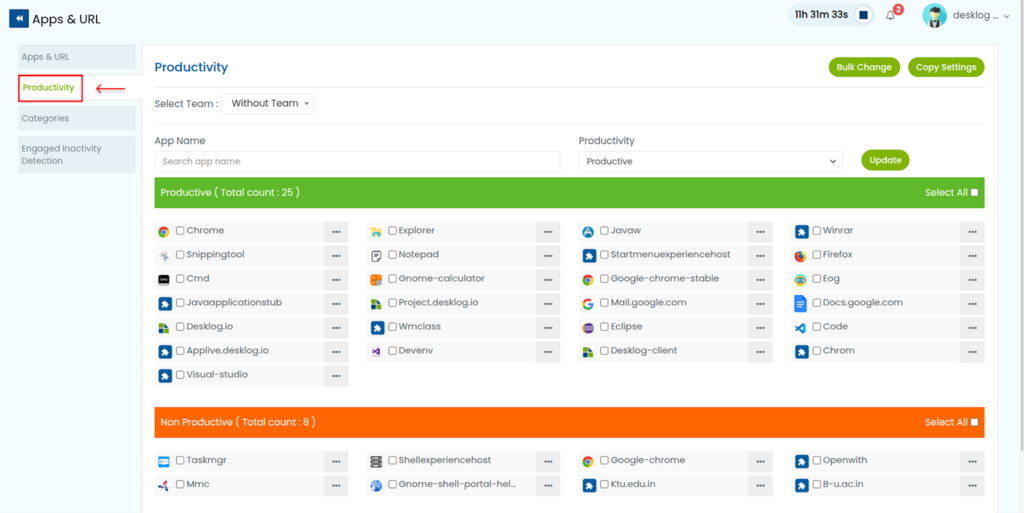
- Select the team for which you want to set the app productivity level.
Methods to Update Productivity Status
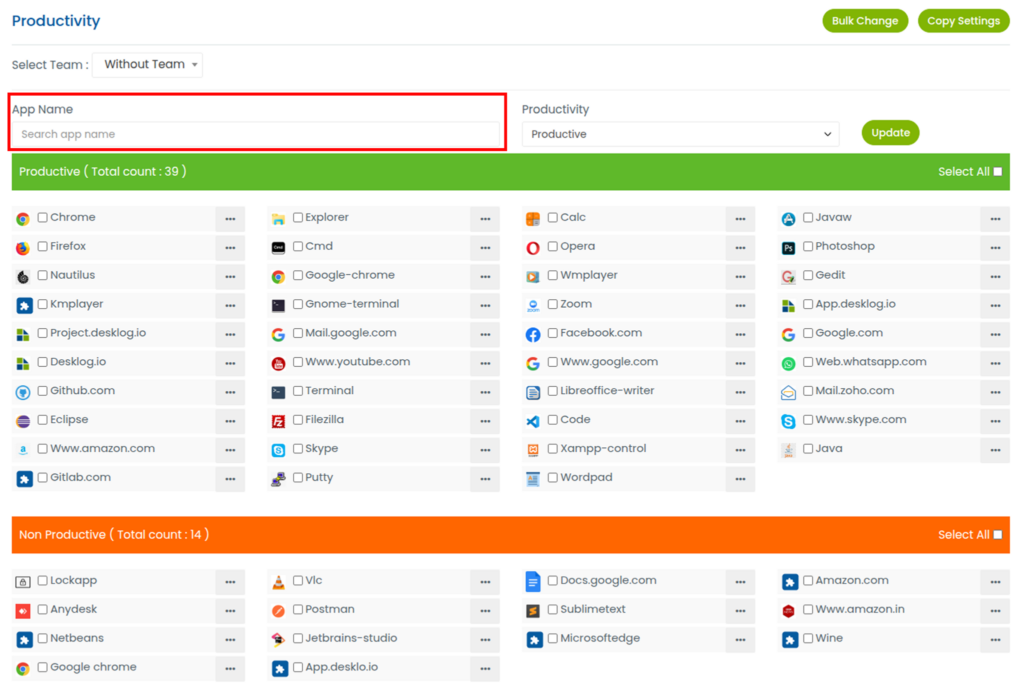
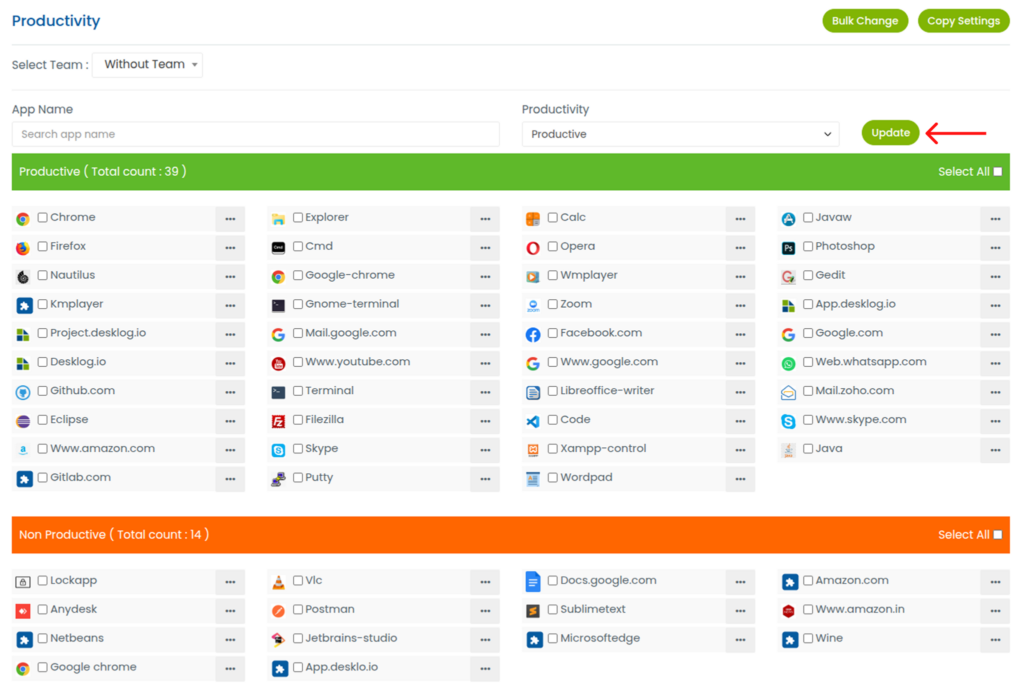
Method 1: Using Search
- Enter the app name in the search bar.
- Select the desired productivity status from the dropdown menu.
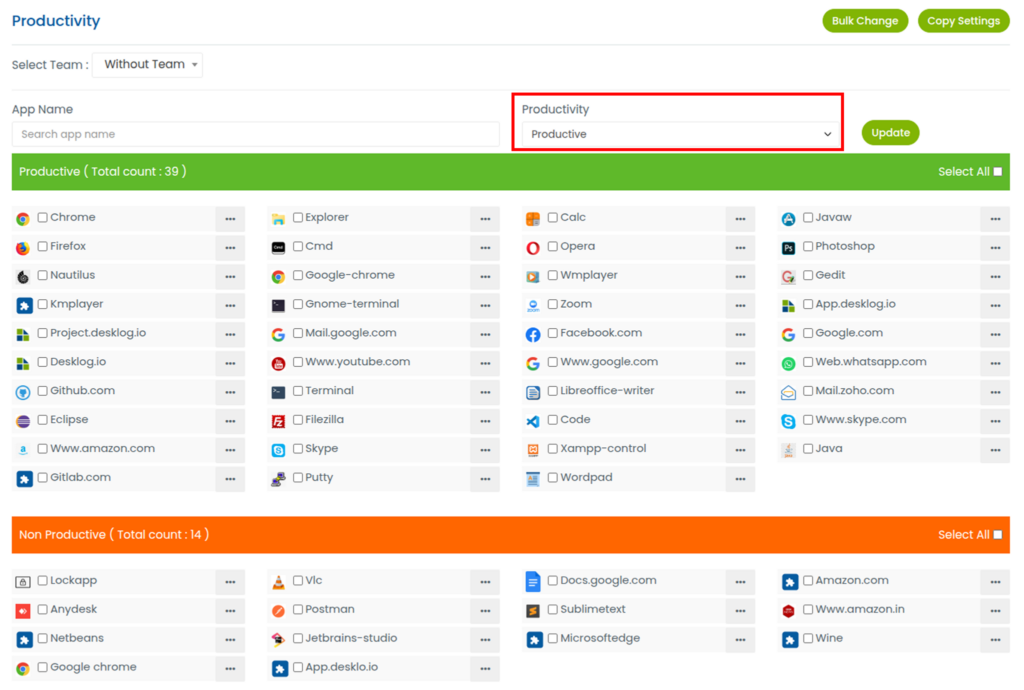
- Click Update.
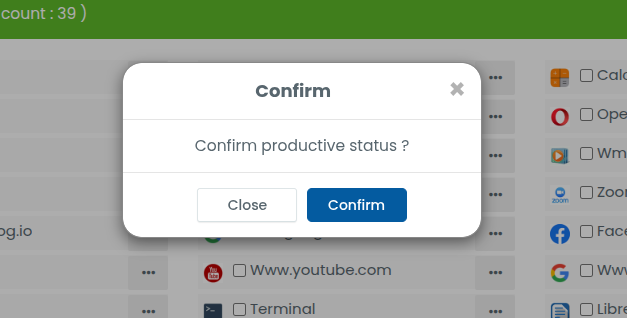
- In the confirmation pop-up, click Confirm to apply the changes.
Method 2: Bulk Selection from List
- Select the apps you want to update.
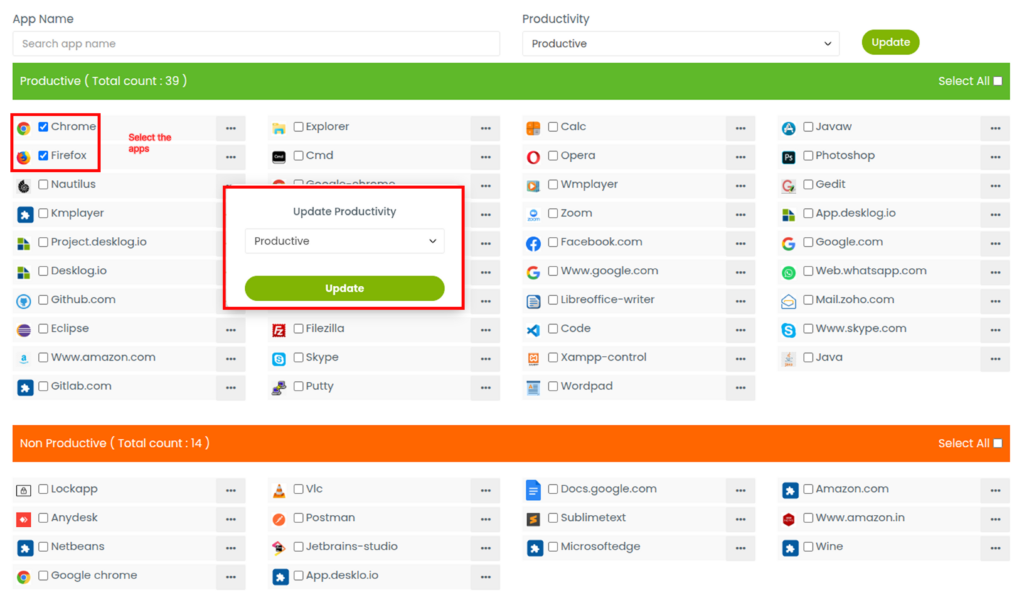
- Choose the status: Productive, Non-Productive, or Neutral from the dropdown.
- Click Update.
- Confirm the changes in the pop-up.
Method 3: Using the Three-Dot Menu
- Click the three-dot menu next to the app.
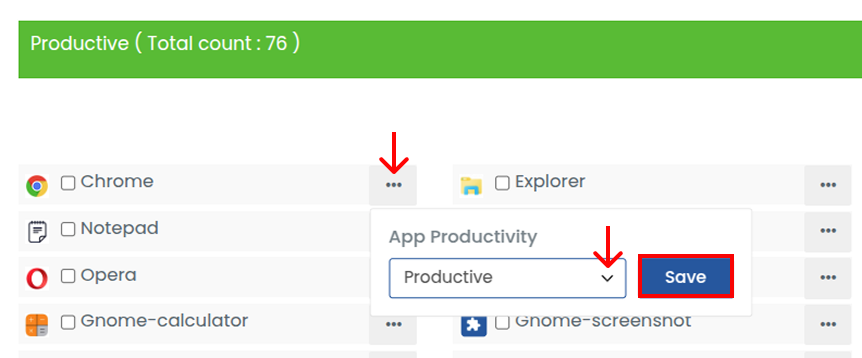
- Select the desired productivity category from the dropdown.
- Click Save.
- Confirm the changes in the pop-up.
Method 4: Bulk Change Option
- Click Bulk Change to open the pop-up.
- In the pop-up that appears, fill in the following details:
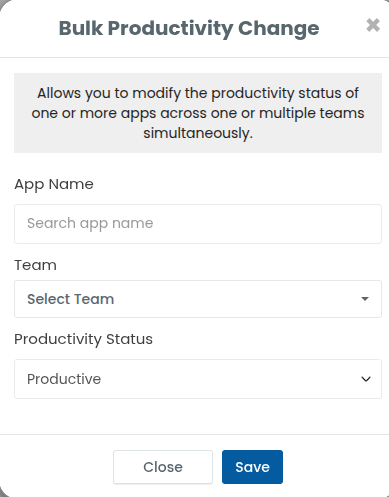
- Enter the app name.
- Select the teams where the app will be assigned.
- Choose the desired productivity status.
- Click Save to apply the changes.
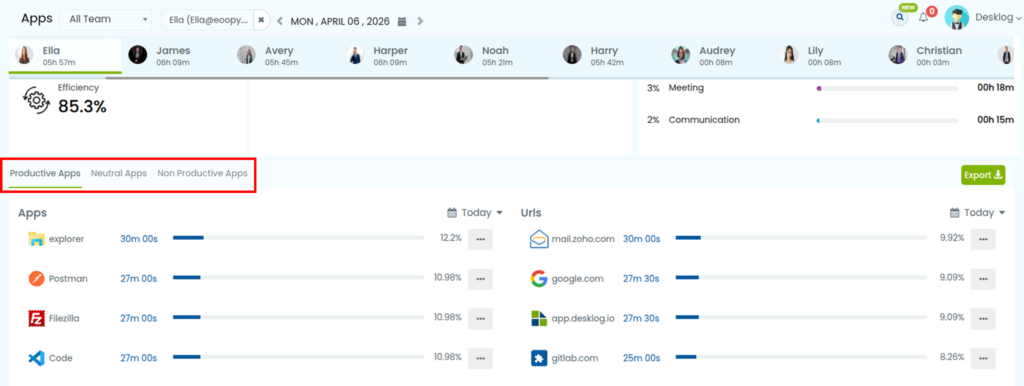
Alternative Method (From Activity Section)
- Go to the Activity section from the left panel. Select Apps from the dropdown.
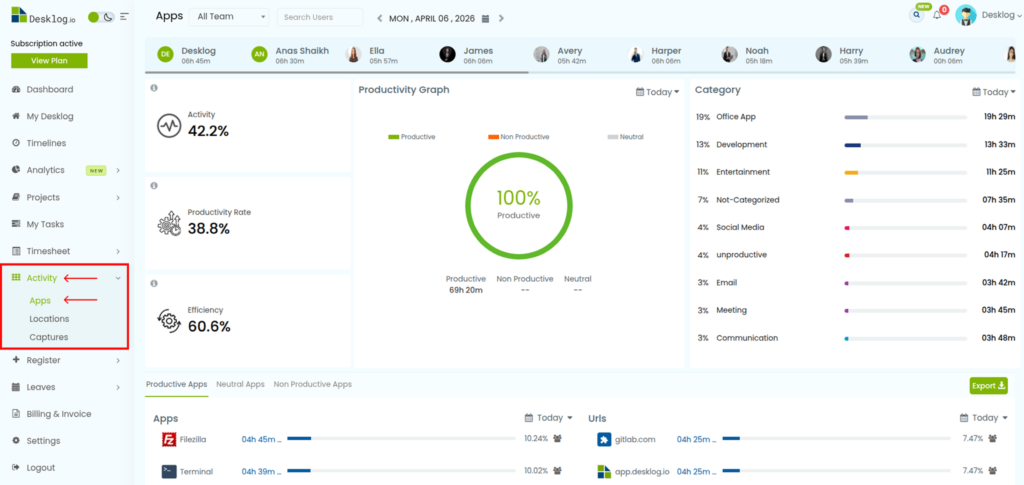
- Choose the user whose app data you want to view.
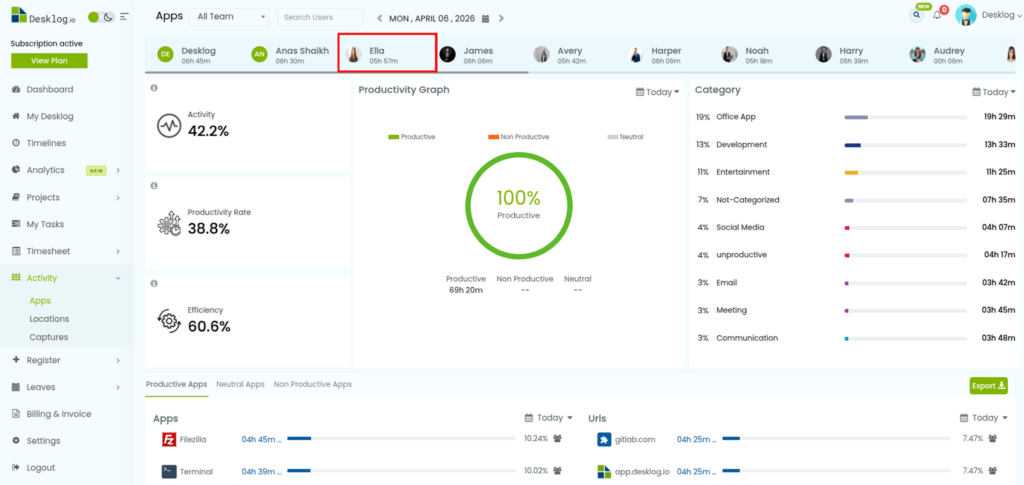
- Scroll to the app usage section categorized as Productive, Non-Productive, and Neutral.
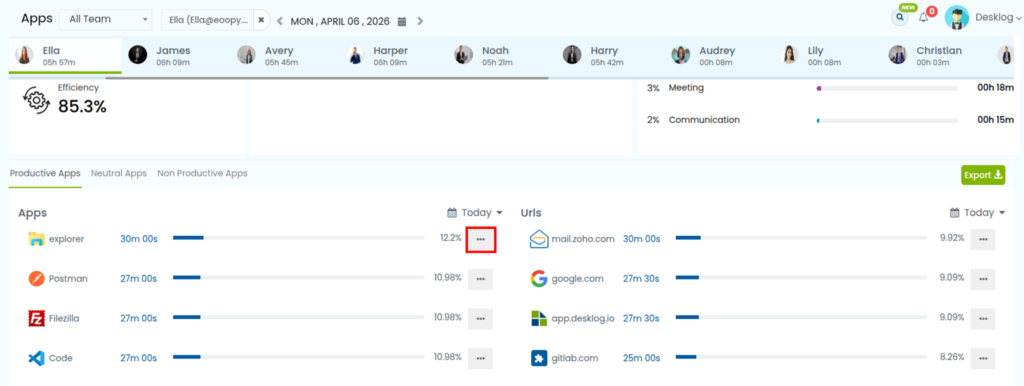
- Click the three-dot menu next to the app.
- Select the desired productivity status.
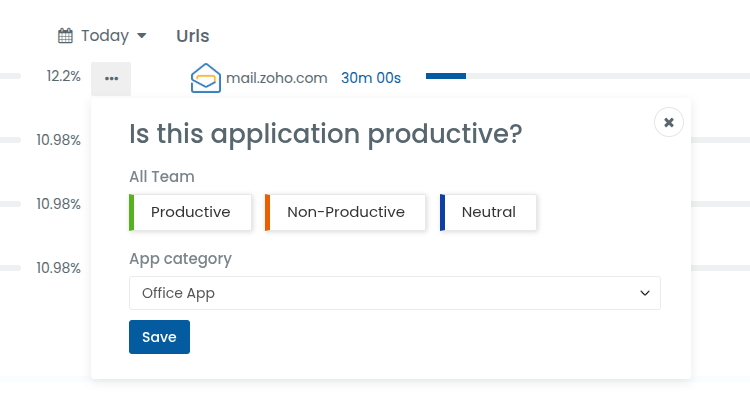
- Click Save to confirm the changes.