You can change app categories in two ways: individually or in a bulk.
To change app categories individually:
Method 1:
Step 1: From the admin left panel, click on Settings.
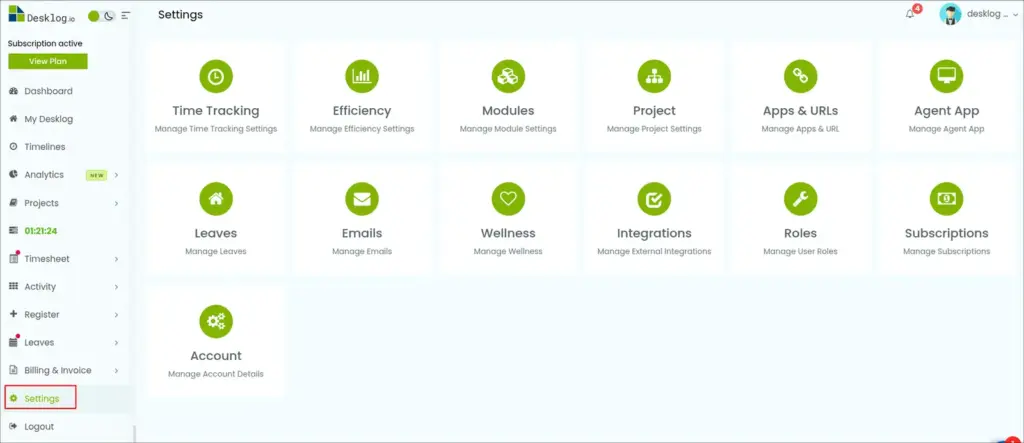
Step 2: From the options that open, select App & URLs.
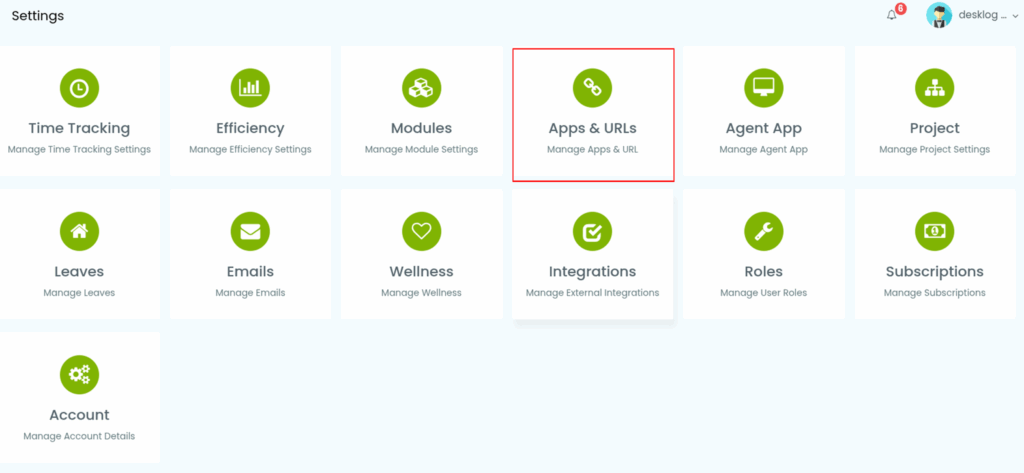
Step 3: From the App & URLs window, select categories.

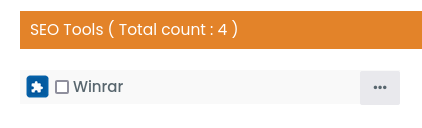
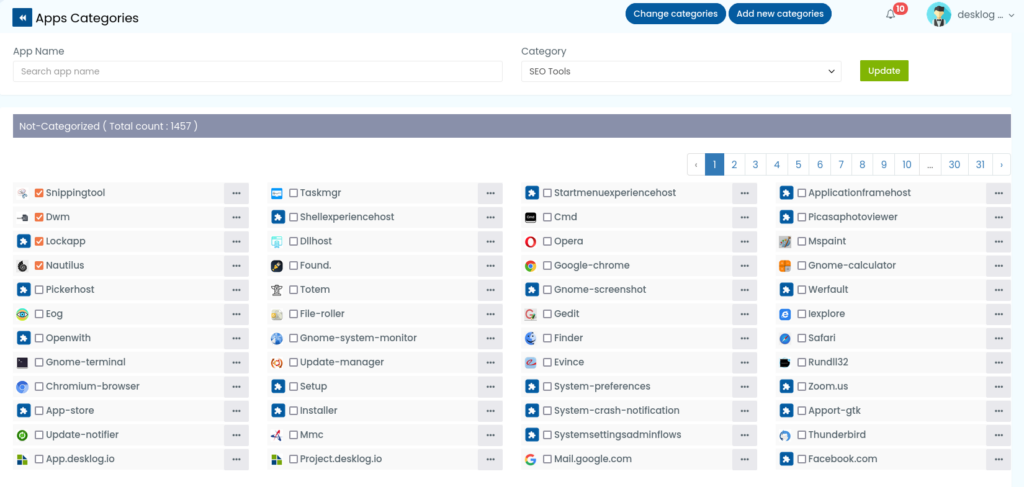
Step 4: The interface that opens will show a list of apps separated by categories.

In the App Name field, type the name of the app you want to reassign the category of.

Step 5: After entering the app name, navigate to the drop down under Category and click on it. This will show all the categories that are available.

Step 6: Select the new category and click Update. Your app category will be successfully changed.

Method 2:
Step 1: From the admin left panel, click on Settings.

Step 2: From the options that open, select App & URLs.
Step 3: From App & URLs window select ‘Categories’.

Step 4: The interface that opens will show a list of apps separated by categories.

Find the app you wish to change the category of and click the three dots beside it.
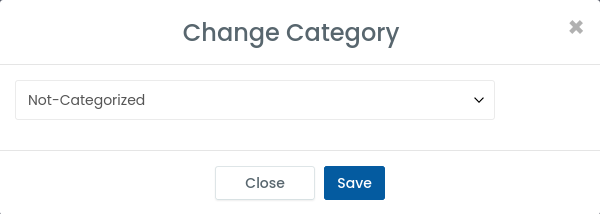
Step 5: This will open a small pop up titled App Category. Click the drop down to see the list of all the categories that are available.
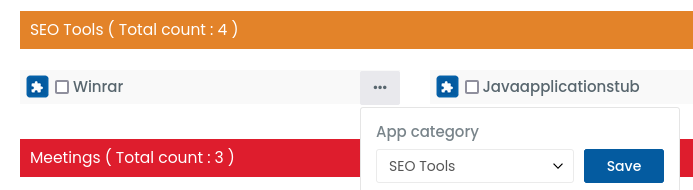
Step 6: Select the new category and click Save. Your app category will be successfully changed.
To change app categories in bulk:
Step 1: Click on Settings from the Admin left panel.

Step 2: From the options that open, select App & URLs.
Step 3: From App & URLs window select ‘Categories’.
Step 4: The interface that opens will show a list of apps separated by categories.

Find the apps you wish to change the category of and select them by clicking the checkbox.
Step 5: After selecting the apps, navigate to the top of the screen and click on the Change Categories button.

Step 6: From the pop up that opens, select the new category and click Save. Your app category will be successfully changed.