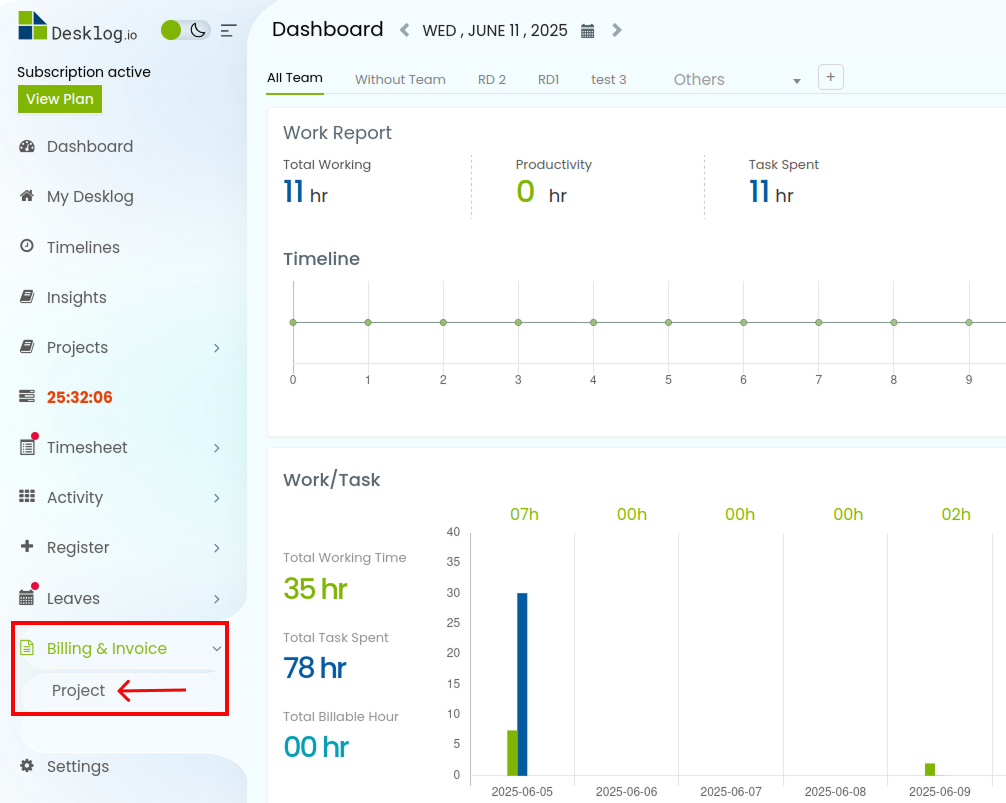
Step 1: To bill your projects using a tag filter, go to the “Billing & Invoice” option in the menu bar and select “Project” from the list.
Step 2: You’ll be redirected to the project billing page.
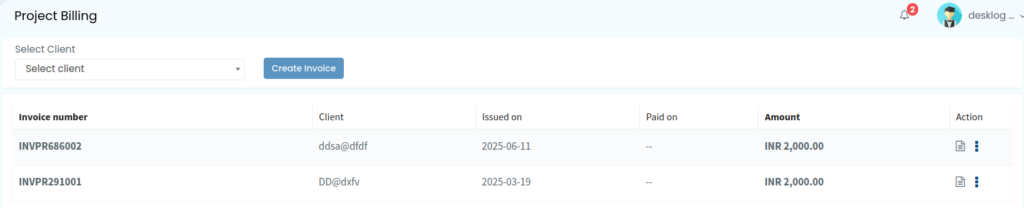
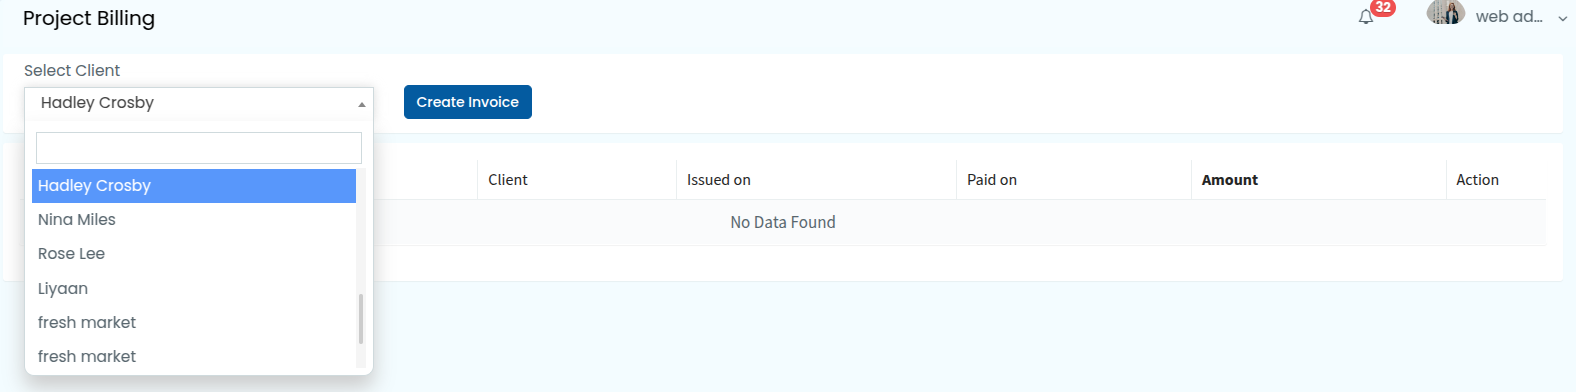
First, Select Client from the drop down menu. Then, click on “Create Invoice” to proceed.
Step 3: A table will pop up. Select Tag (optional)from the drop down list and select Duration.
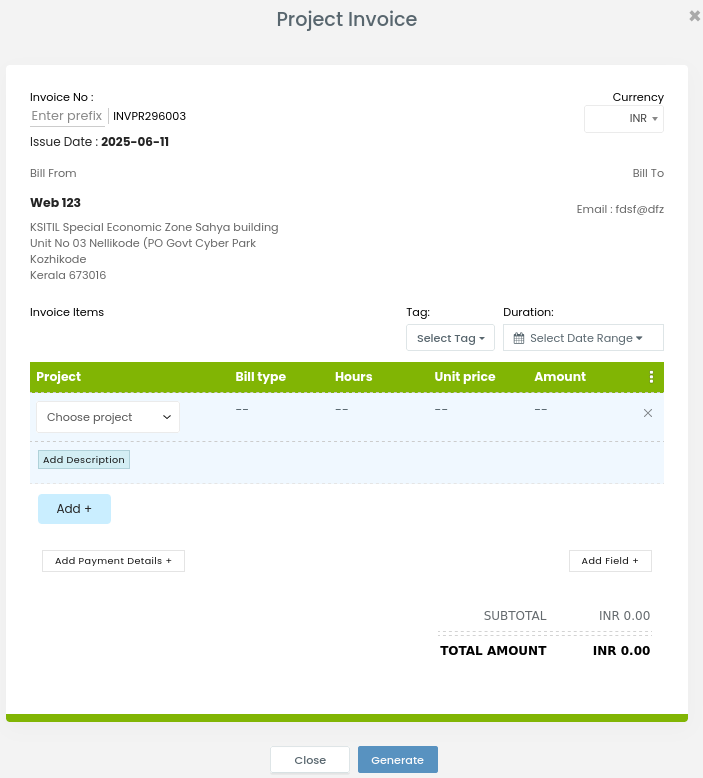
Step 4: Choose the project. After selecting the project all the data will be added to the list automatically, including Bill Type, Hours that the project actually takes, Unit price and the Amount.
Step 5: You can Add Description and more projects using the ‘Add’ button.

Step 6: When you click on the ‘Add Payment Details’, there is an option to add Bank Name and Account Number, Holder Name, Branch & IFSC Code.
Step 7: On the right side you can see a button called ‘Add Field’ by clicking that you can add Discount/Tax, Value and there is an option to Add & subtract.

Step 8: The last step is clicking Generate.