The admin can approve or reject leave requests using the Approval option under Leaves in the left menu bar. Here you can see the Pending Requests, Approved Leaves and Denied Leaves.
Approval Process
The Pending Requests displays all leave requests submitted by users that are pending action.
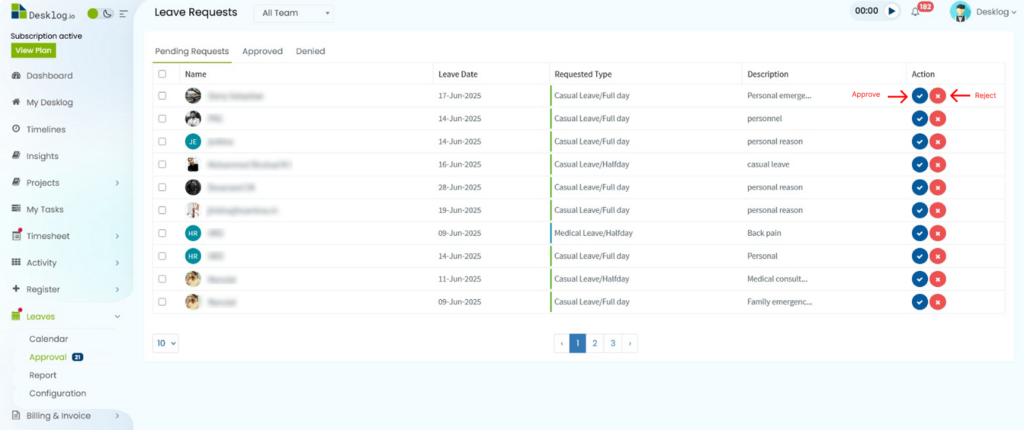
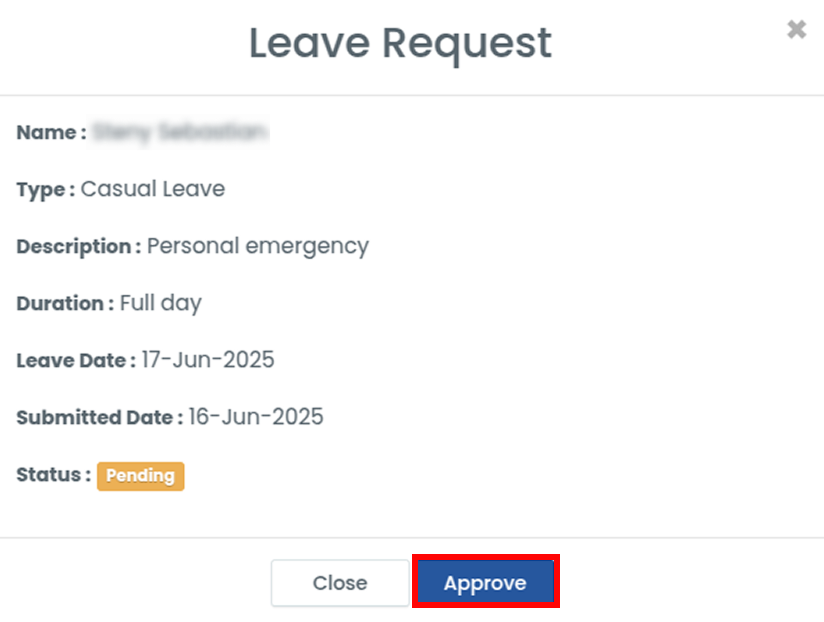
In pending requests, you can view the Name, Leave Date, Requested Type, Description and the option to approve or reject the requests. Click the tick mark on the right side to approve the leave. A pop-up will appear for confirmation when you click on it. Review the data given buy the employees and click on the Approve button.
Denial Process
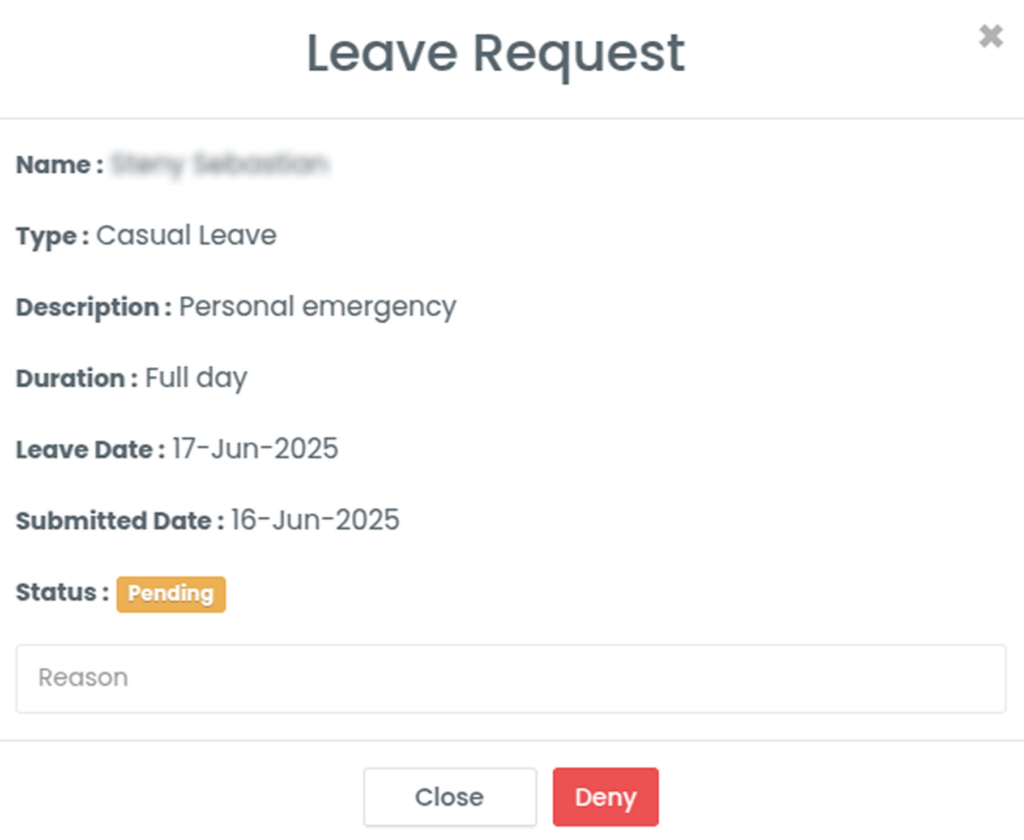
Click the cross mark next to the tick mark to reject a leave request. A pop-up will appear where you need to provide a reason for the denial. After entering the reason, click the Deny button to confirm the rejection.
Approved Leaves
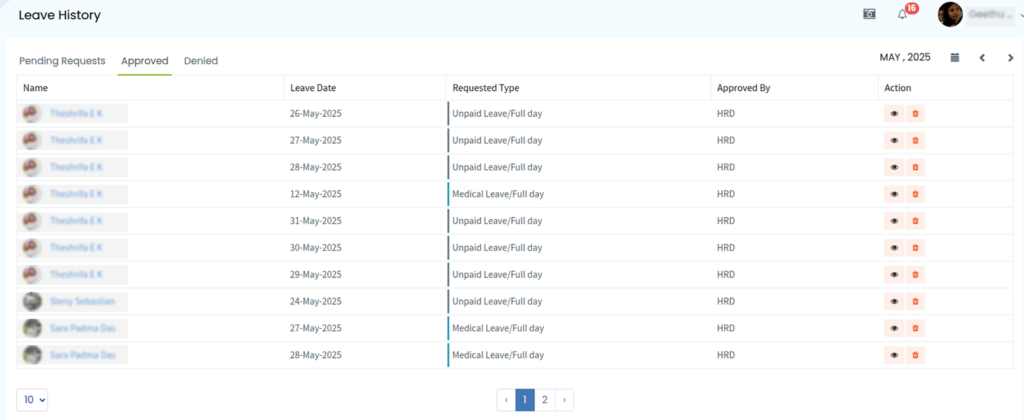
All leave requests that have been approved will appear under the “Approved” section. This section provides a clear overview of previously accepted requests, allowing admins to track leave history and manage team availability efficiently.
Denied Leaves
All rejected leave requests are listed under the “Denied” section. This section helps maintain a clear record of declined requests, including the reasons for rejection, ensuring transparency and easy reference. You can also view detailed information about each denied leave, including who denied the request and when.
