NB: Only managers can add shifts directly from their Desklog admin dashboard.
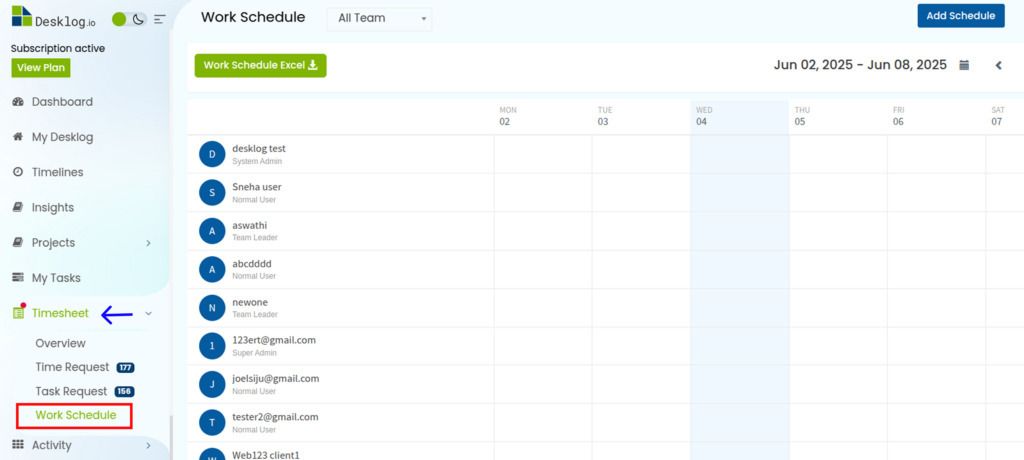
Step 1: Go to the Timesheet menu from the Admin Left Panel.
Step 2: Select Work Schedule.
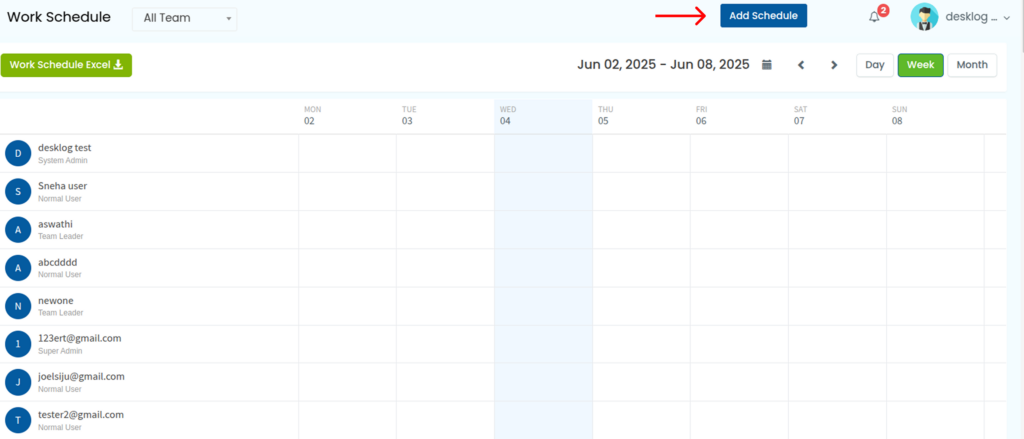
Step 3: Click on the Add Schedule option from the top right corner.
Step 4: In the Add Schedule interface, you can provide the following details:
- Teams: You can select the teams you wish to assign the schedule to.
- Members: You can select the members you wish to assign the schedule to.
- Schedule Template: You can assign a previously saved schedule. If a template is selected, then the rest of the details will be filled out automatically.
- Shift Starts: You can specify the date when the shift starts.
- Shift Ends:You can specify the date when the shift ends.
- Start Time: You can specify the time when the shift starts.
- End Time: You can specify the time when the shift ends.
- Minimum Hours: You can set the minimum work hours for the shift.
- Save as Template: You can save the schedule as template.
- Repeat Shift: You can choose to repeat the shift.
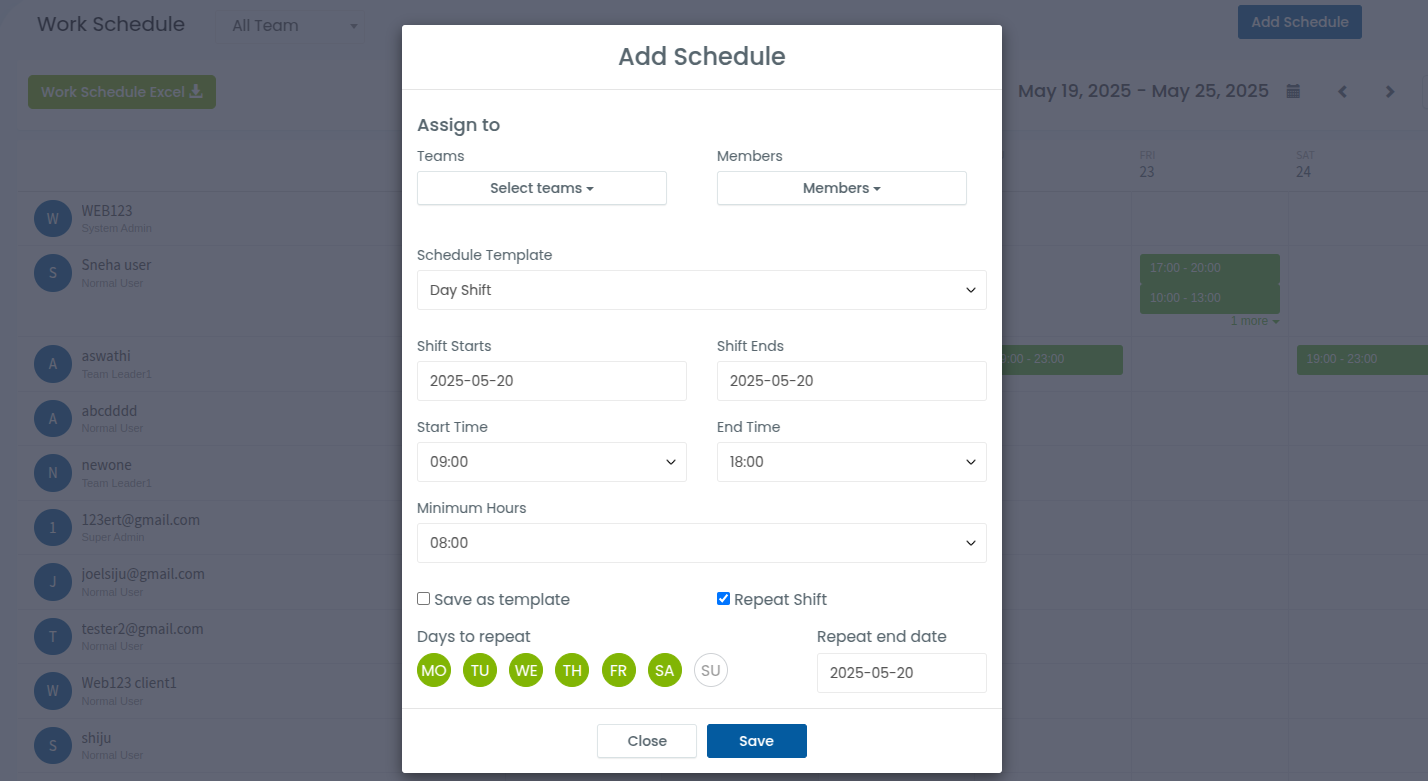
Step 5: Click Save.