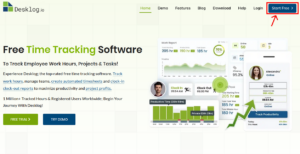
In order to create a Desklog account, visit the Desklog homepage and select the “Start Free” button displayed in the screenshot below.
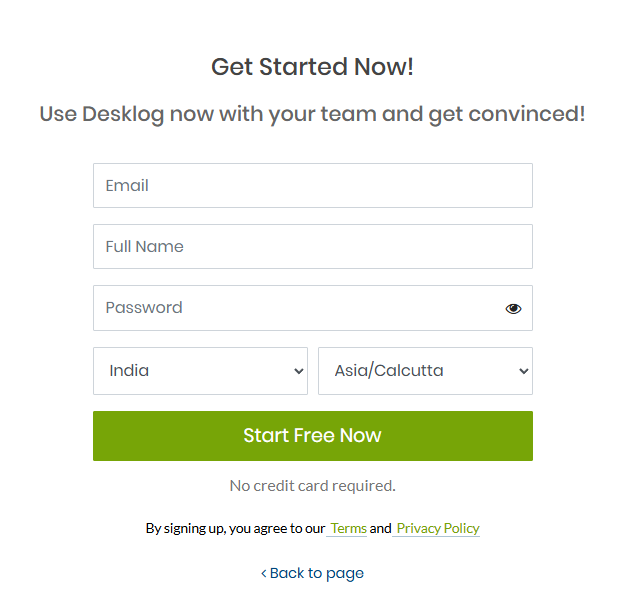
This will take you to the registration form, where you can enter the required details to sign up, as shown in the screenshot below.
Registration
Follow the steps below to complete your registration successfully.
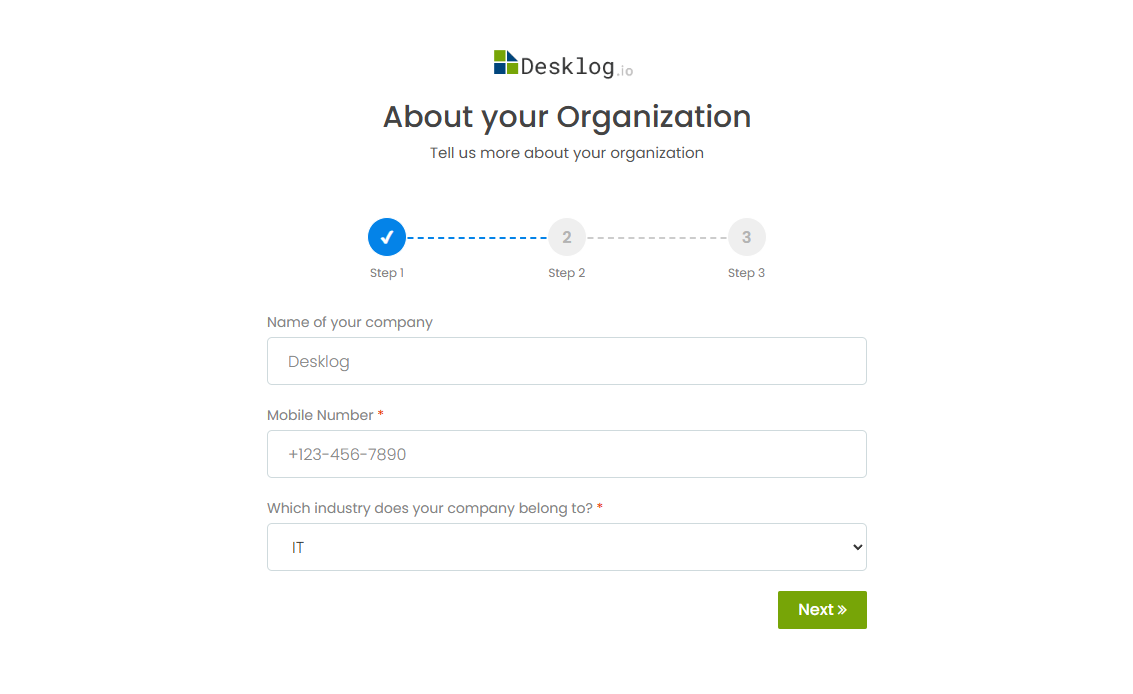
Provide your company name, mobile number and the industry. Then, proceed by clicking the ‘Next’ button.
Registration completed successfully. You will now be redirected to the admin dashboard of your newly created account, where you can access and manage Desklog features.
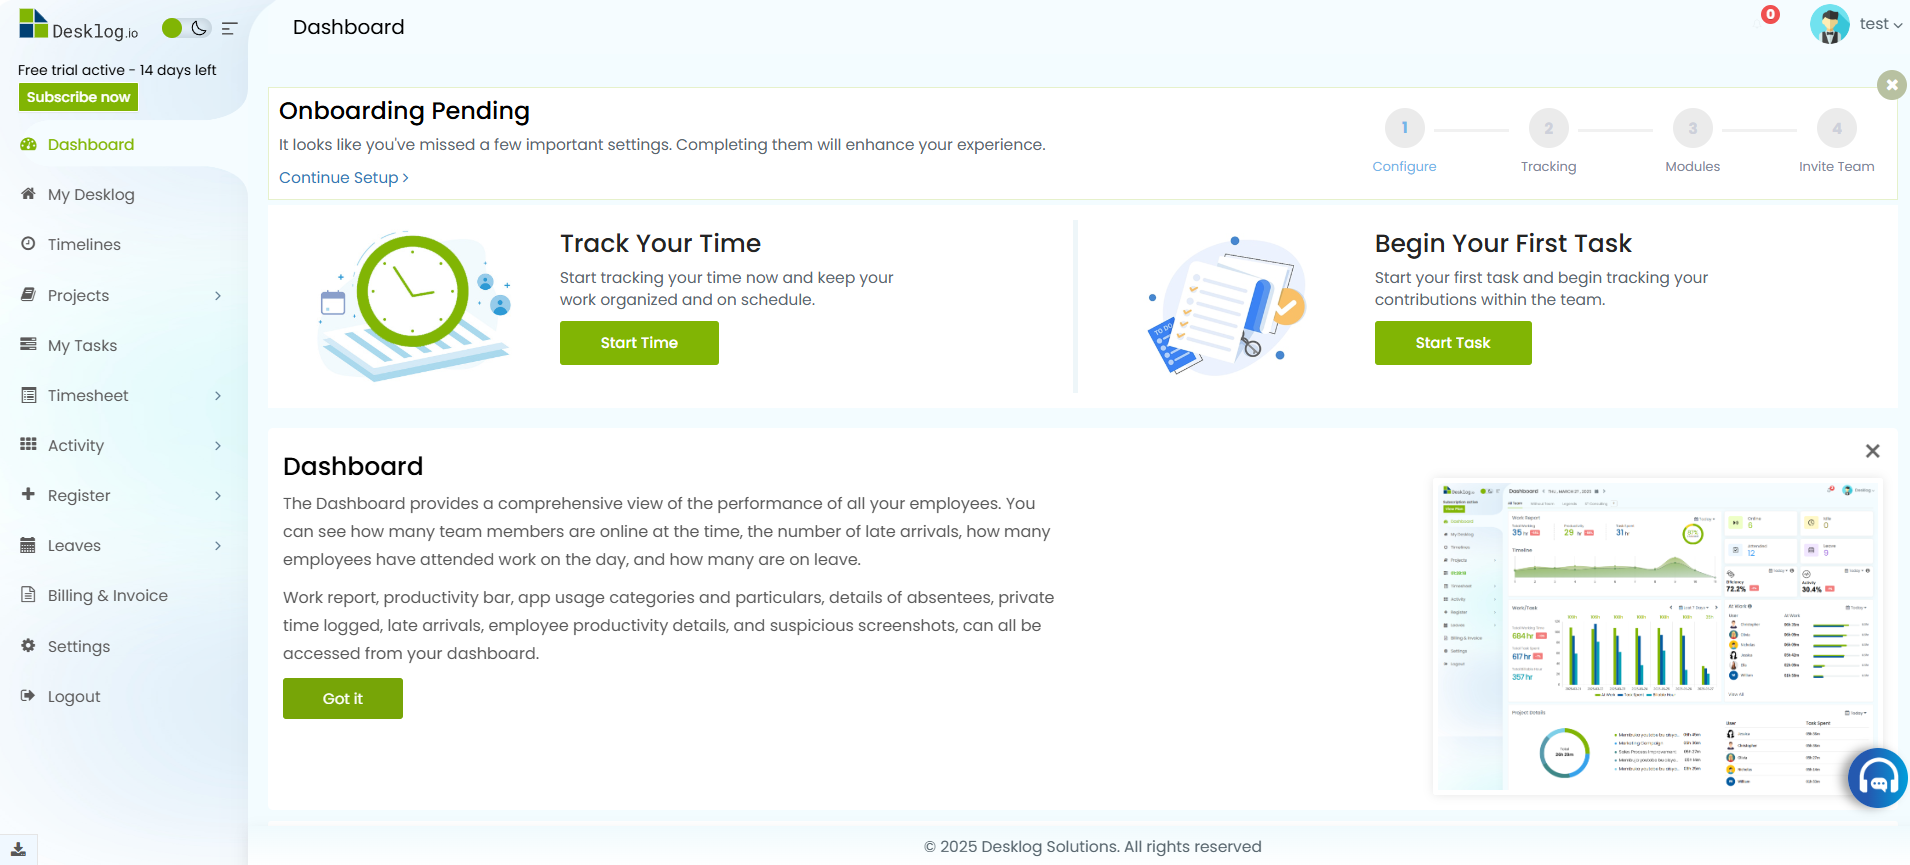
In Desklog, you can customize Onboarding settings to fit your needs, allowing you to personalize the setup process, define user roles, and simplify the experience for new users.